Concealed Storage

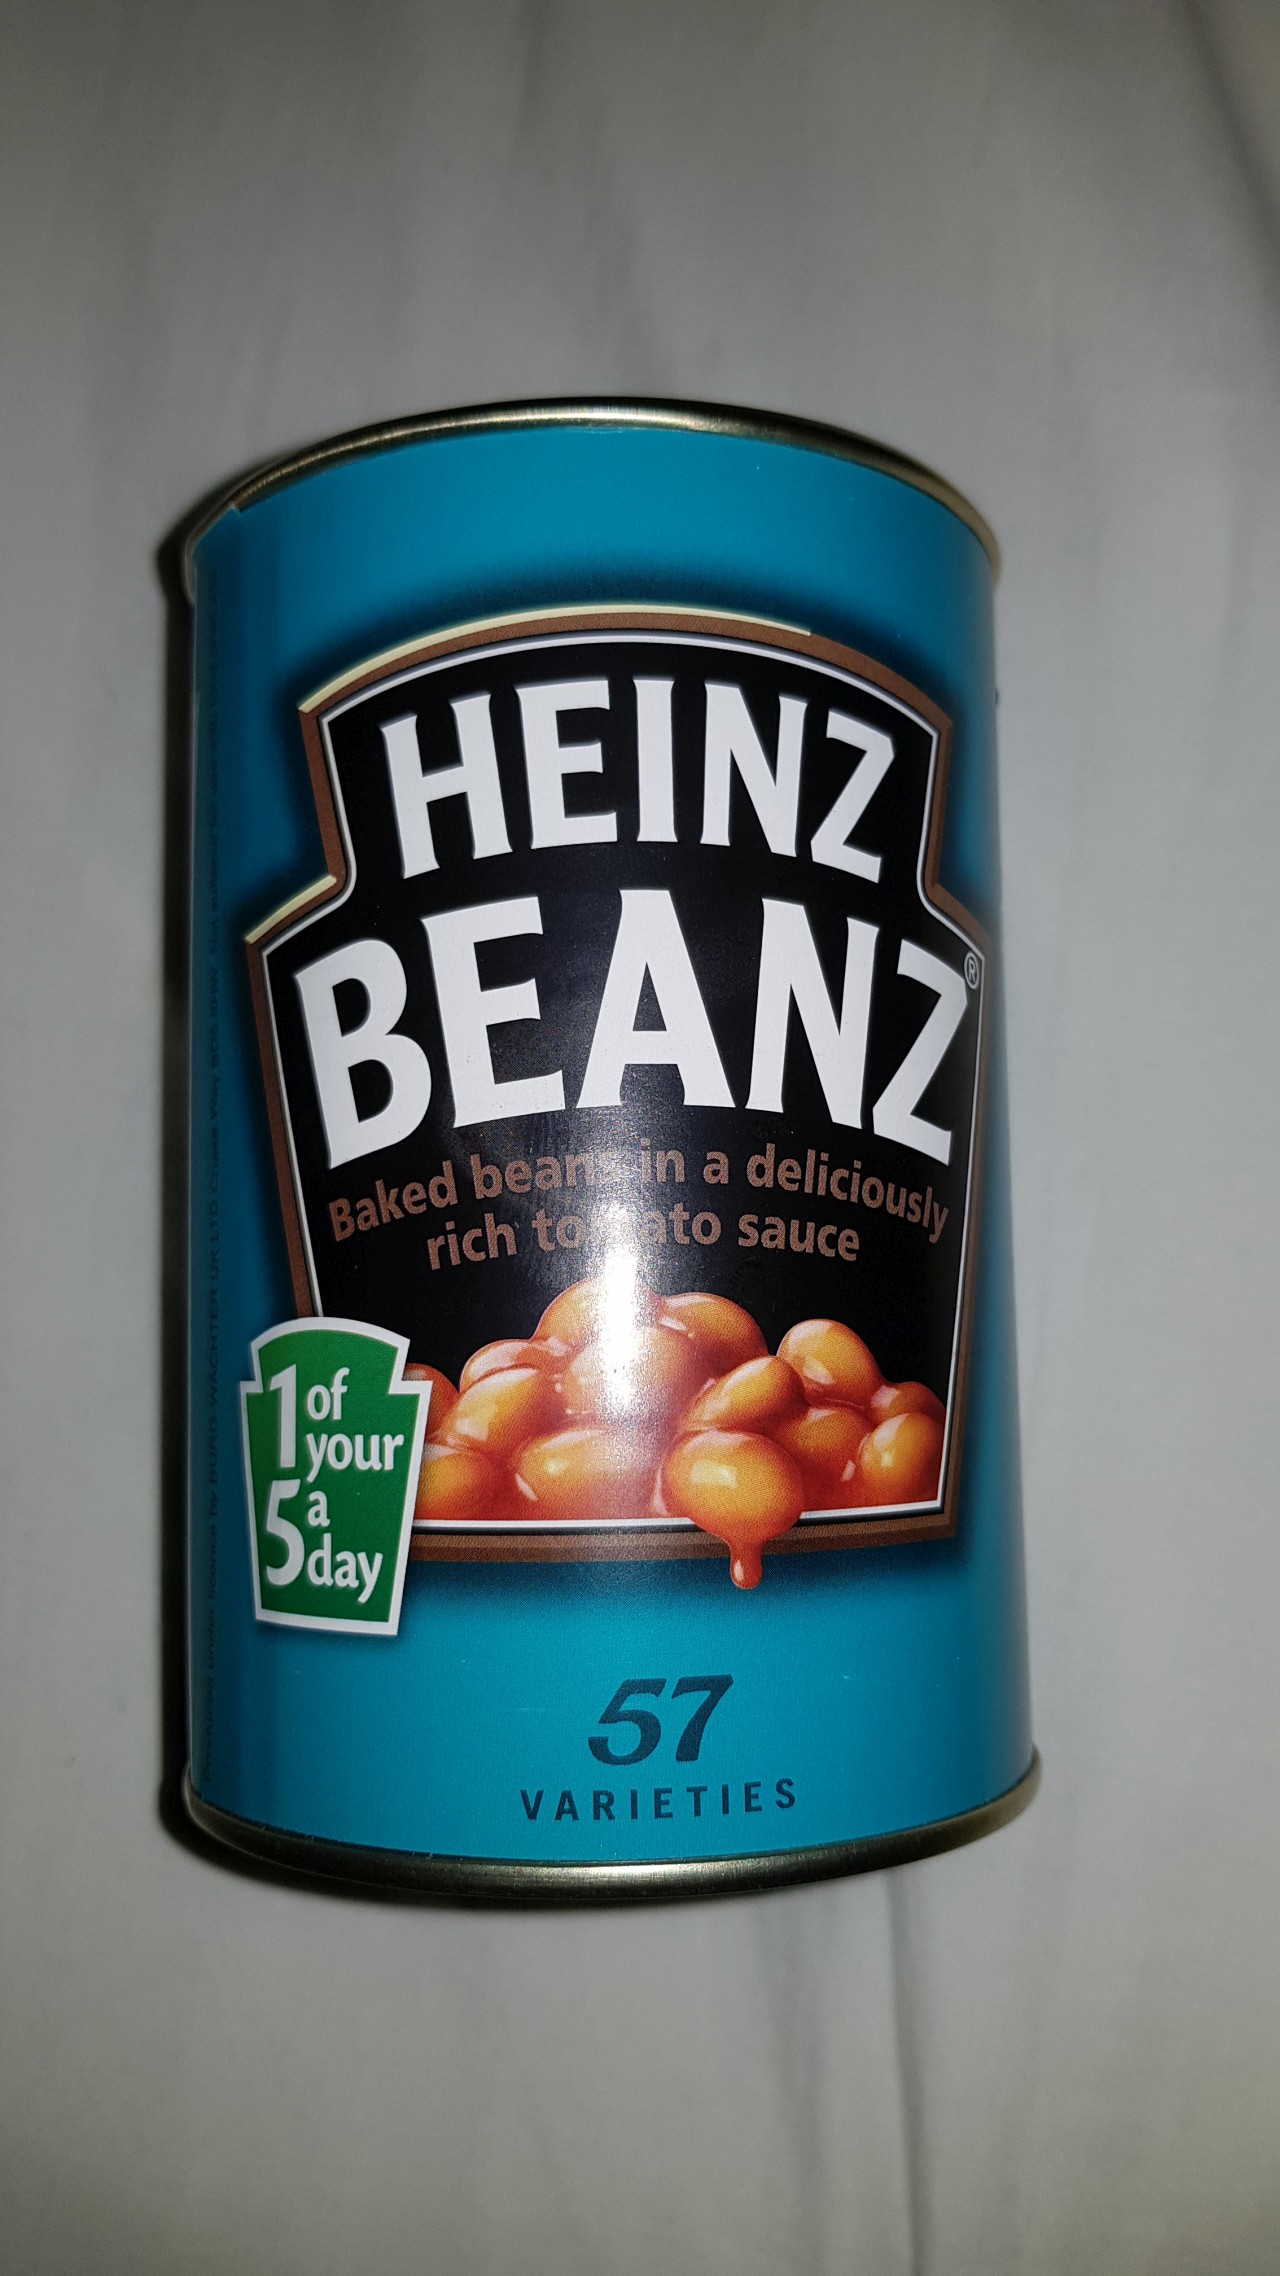
When you’ve accumulated a lot of valuables in your house such as spare cash or precious metals you begin to run into the problem of where to store it, the most common way to store them would be in a safe or small vault of some kind. These are quite hard to break into if made of solid metal, however it’s extremely obvious to any criminal. I looked into storing my valuables inside disguised products such as the below Heinz Can of beans, it’s inconspicuous on the outside but has quite a nice amount of space inside for about 30 oz of silver and a lot of paper notes as well to prevent rubbing on the inside.

Heinz Beanz Tin
Fig1. – The Heinz Beanz Tin.

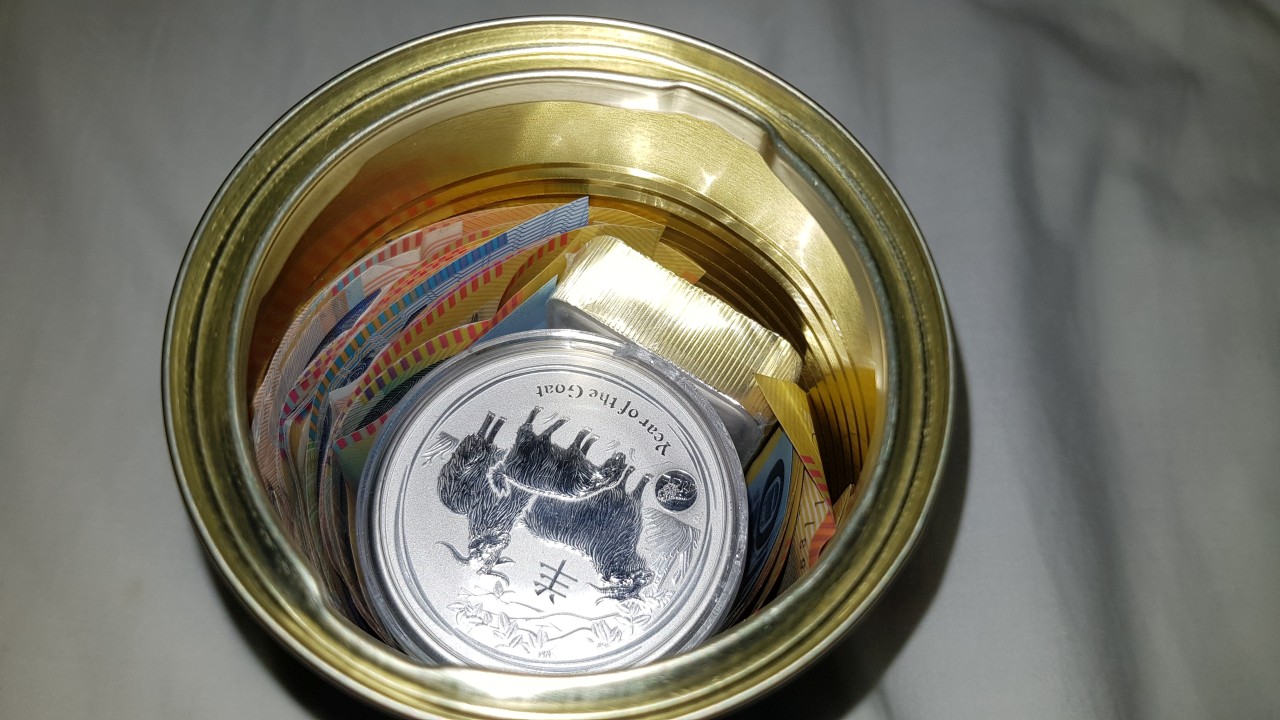
But open up the bottom…

Heinz Beanz Tin Interior
Fig2. – The inside of the Tin.

There’s quite a lot of different designs you can buy, I purchased mine off Ebay from Britian and noticed a tomato soup can, spaghetti can, a dictionary, coke can, a fake candle and even a fake rock for storing things outside which is probably more fitting for a key. It costed me $30 AUD and you could make your own for cheaper quite easily by hollowing out any common object.

It would be best to also have a safe in your cupboard with semi-valuable items in it to trick criminals into believing they have the best loot.

Silver Coin Stockpile

Lately I’ve been slowly adding to my silver stockpile due to the low (relative) prices this year. Currently it’s at $16.16 USD on the 27th June 2018 and dropping which is quite below its mean of $16.50 but not by much.

Some of the uses of silver include:
• Bartering
• Water Purification (Kind of)
• Colloidal Silver (For Health Issues)
• Antibacterial

Remember that either way you look at it, silver will always be an investment and you can sell it later on for almost the same amount if you need some quick cash.

Gold is useful as well to store large amounts of cash, but there’s not a lot you can buy with that much money in a SHTF scenario. Most of your transactions will be small change for cans of food, water and survival gear – which you should already have stocked. Currently Gold is at $1253.74 USD which is a little lower than average but then again gold has fewer uses than silver in a survival situation. However it is worth it to have at least one oz of gold handy.

Cash on the other hand will depreciate very quickly in a disaster, people will soon realize this piece of paper isn’t worth the value written on it by the Federal Reserve and value will shift back into valuable metals which can’t simply be printed into existence. When this occurs the three most valuable entities in the world will be Materials/Possessions, Precious Metals/Gems and Skills/Experience.

Don’t forget to keep your valuables safe and secure in a hidden location either in a safe, under floorboards, at the back of a wardrobe or buried in the back yard. You could perhaps find some extremely strange places to store valuables too, such as inside a hot water tank where it will not only stay safe but slowly purify your water. The only problem with that is getting them in and out but at least you won’t be inclined to spend them.

Wild Camping Protection

Tent protection is an important consideration when choosing one to bug-out with, assuming you don’t have a BOL. It has to stand up against incline weather, prying eyes, and animals as well as provide protection from those pesky critters that come out after dark – mosquito’s I’m looking at you.

Recently I’ve gone through the tough task of choosing a bug-out tent factoring in every possible risk in my area. The categories below are my most important to the least important features I’m looking for in a tent. You can’t have a “Perfect” tent so you need to prioritize the features you need the most first above others that are nice to have. I ended up buying a Darche Superdome swag after going through what criteria I wanted in a Bug Out tent. Even though it’s not a classic “tent” it still qualifies as a suitable shelter from threats and a comfy bed. Although I should mention that during Bug-out I won’t take the mattress with me due to the sheer size and weight of it. Instead I will be using my inflatable Klymit Static V Recon mattress.


Tent Protection Features

Waterproof
Probably my most vital feature is waterproofing as you absolutely don’t want wet clothes in the winter months. Make sure it doesn’t leak when you get it and have a contingency plan if you happen to poke holes in it such as tent patches. Waterproofing doesn’t only include protection from rain but from the water run-off that you may encounter if you incorrectly selected your camping site. My tent has a bucket base up to 3 inches high to provide a very high level of protection from ground water.

Insect Proof
Flies, mosquitoes and other nuisance insects are extremely prevalent in Australia which is why I opted for a netting on sections where there’s no walls. Zip it up at night and they won’t be able to get in, but you’ll also be able to see out to observe the environment for threats.

Size
If you’re camping in the woods you want to be hidden from view which makes a lower profile tent very useful in this regard. Generally the bigger the tent the more likely that something happens to it such as falling branches. Anything below 70cm is perfect for stealth camping. Tents between 70-100cm are going to be much more obvious unless you’re surrounded by high grass. Over 100cm is definitely not recommended as it’s likely to be easily spotted from a human’s height perspective.

Colour
Even though colour doesn’t directly affect the protection the tent provides, the less it’s seen, the less likely that humans or animals will intentionally damage it. My primary concern was being spotted by other humans so I wanted a green, brown or camo colour theme to blend in with the surroundings. It doesn’t snow here in Australia so I didn’t factor in a white cover sheet or anything to put over it in winter months. There is a portion of orange writing on the sides which is almost the exact spectrum opposite colour to green so I will be painting over that to diffuse it a bit.

Material
The second most important consideration for me as there’s many wild animals which can easily tear through the thin polyester of regular tents. Not to mention there could be debris falling from trees such as branches which can not only tear holes but injure you as well. Also it’s generally unwise to pitch under a tree. I went with a canvas tent and although it’s much heavier the durability will last almost forever and provide a lot more protection from anything that wants to get inside the tent. There’s also a degree of feeling safe and secure in a tent that will assist in giving you a good nights sleep.

Profile
Different profiles have different strengths and can withstand various weather events such as strong wind. There’s many different types of shelters from tents to bivvy bags and swags. Choosing one should be based on your ideal space for movement and how concealed you want to be. Even tents have multiple different profiles from dome to teepee. I went with a swag as a medium between a tent and bivvy. I needed something I could fit my backpack into as well to prevent it getting wet.

Breathable
Breathability is lower in my list of requirements as, again, Australia doesn’t get too cold and thus it won’t gather much condensation overnight. To combat heat I will pitch in shade and keep the top and side flaps open when necessary.

Features
I like the ability of having two entrances to my swag, one in the top and one in the front for multiple ways to get in and out in case something prevents me getting out one of the sides. The top way would be the fastest as you just have to unzip the fly screen and then pull off the canvas. The front entrance could also be used for proning and looking out with a gun or crossbow with while maintaining comfort and stealth. It also allows you to relatively sneakily get out of the tent if there’s an obstacle such as long grass just outside the entry.

Weight / Size
A weighty tent provides a nice solid foundation and assists it keeping it put if water or wind tries to push it away. I love the level of comfort and security that comes from a thick and weighty tent, knowing there’s a sturdy wall between me and the outside world – most of which wants to harm me. Weight is also the least of my concerns as I’ll have a bug out bike or car to transport it. If for some reason I MUST bug out on foot I’ll probably have a Snugpak Stratosphere/Ionosphere for a lightweight alternative even though it will sacrifice my security heavily.

Price
I lied, price was actually my lowest consideration. I didn’t care how much I spent as long as I had the features I wanted. Coincidentally one reason I bought a Darche swag is that it was on special around the time I was working out what type of shelter I wanted, as well as having all the features I wanted.


While deciding what sort of shelter you want, take a look at this list of plausible risks that could affect it or you in the wild. I’ve detailed what I can think of below to get your mind on the right track.

Tent Damage Risks
Falling Branches – These can tear holes in lightweight tents such as polyester with ease, especially dangerous in windy conditions.
Ground Rocks / Sticks – Can puncture your floor (and your mattress) if the floor isn’t thick enough to withstand these hazards.
Water / Flooding – Water can rot a canvas tent and seep through any cracks in the roof or floor and provide an uncomfortable nights sleep.
Strong Wind – Can blow your tent over if not properly secured to the ground. Some shapes shed it easier then others.
Animals – They sure like to sniff around your campsite when you’ve gone to bed and try to eat any remaining scraps. Some of them have sharp claws and could slice through the walls if they try to climb on top.
Insects – Mosquito and fly protection is important to keep your sanity during the nights. You don’t want to be slapping your face every 10 seconds because one got into your tent and you can hear it somewhere.
Sharp Objects – You are just as likely to damage the tent yourself if the walls aren’t thick enough by forgetting you have keys, knives or pins in your pocket.
Time – Just as strong as any other force of nature, and due to the fact that everything degrades over time it leaves it more open to becoming damaged.

So that’s it. Overall this post was a merge between tent protection and choosing a tent but it seemed like it worked anyway. If you’re looking at a Bug Out shelter jot down your requirements and what you need most. Also write down the critical features you need and don’t settle for one without them. My criticals were Green/Camo colour, mosquito mesh and Canvas material. Everything else I could live without in some way or another.

If you would like to see my review of the Darche Superdome, check it out. Darche Superdome Review
Low Fuel Reserves in Australia

In the past week the new Australian federal budget has been released to the public and there’s been some shocking discoveries. Such as very low fuel levels with only up to 20 days of petrol left for the entire country.

The other stats are:
• 22 days of crude oil
• 59 days of LPG
• 20 days of petrol
• 19 days of aviation fuel
• 21 days of diesel remaining

Link to News Article

Not that I know what these stats even mean – why would the government store fuel? I always thought it was the independent companies that had to import it themselves and then sell it at the fuel stations.

However if these reach 0, or of they even get close to 0 there will be chaos in the streets with people rioting over fuel and being fist fights over a liter. I don’t know how this happened but people are starting to panic and from what I’ve seen, they’ve been grabbing the biggest fuel can they can find and heading to their nearest fuel station and filling it to the brim. Not that taking fuel home is going to help you if it runs out, people will see you as a target having an extremely obvious moving vehicle among other paperweights.

There’s been a number of fuel stations I’ve passed lately that have been sold out of 91 Unleaded, 95 Unleaded, 98 Unleaded and E10. It made me instantly panicked when I headed to my local fuel station to fill up as I only had 1/8th a tank left and there were sold out signs on every bowser.

I eventually managed to find some fuel at another station the next day, but having that little and wondering how I would get to work the next day if I couldn’t find any really makes me reconsider my preps…

I’ve always had a bike on my to-buy list but never got around to it, and if I buy one that’s at least one mode of transport I could get to work if there was no fuel, not that I’d be worried about getting to work if that does happen though due to bigger problems on the horizon.

If the fuel supplies run out, the trucks stop. If the trucks stop, the food stops. If the food stops, sanity stops. Thus the collapse of a nation occurs and all a prepper can do it bug out or bug in until it’s solved.

Thinking about how I would prepare if this disaster were to happen, I came upon only two reasonable solutions. Either buying a bike and not relying on fuels altogether – which wouldn’t be much point as I’m sure jobs would dissipate quickly. The other option would be to store additional water and purchase more food before people see it as a luxury when transport stops.

Not that I believe this will happen because I’m sure a desperate government with the people on their backs would likely over compensate and store a lot more fuel then necessary – at least until the next budget is released and people see they’ve slipped back into their old ways.

Yellowstone Earthquakes and Eruptions

There’s been a lot of hype around Yellowstone lately with its increased activity and fears it may blow into the first modern super eruption which could cause the next ice age. There is also an ongoing eruption at Hawaii at the moment where people are being evacuated due to the slow flowing lava heading into towns and destroying houses which doesn’t help the doomsday theorists waving their arms and saying these are signs. I’m no seismologist and haven’t been to Yellowstone but I have seen the Supervolcano movie by BBC One which pretty accurately goes through what would happen if this monstrosity were to erupt. The effects were widespread across the globe with few survivors near the epicenter of the disaster and a LOT of ash everywhere preventing travel, plant growth and plummeting temperatures. If you wish to watch it I’ve added a link to it below on YouTube.

Supervolcano 2004 BBC One

There’s a lot of great information throughout as it’s a documentary style movie, such as knowing only a few inches of pumice can collapse a roof and half of that if it’s wet, as well as its effects on our bodies if breathed in. It’s a far fetched movie for this event to ever occur in our lifetime at the scale it’s depicted, but great for fine tuning your preps if you live near an active volcano as it may contain information you never knew.

I’m in Australia where there’s almost no danger of any volcanos or earthquakes to be of much concern, the nearest volcano to Brisbane is in New Zealand and that’s a little smaller than Yellowstone. However there’s never any reason to slack in your preparedness duties as even the most remote possibility of an event could still happen. I recommend looking into volcanic disasters and buying one extra item this week to compliment your gear if you don’t have one of the following:

• Air Filter Mask or N95 Mask and spare filters (For rock particulate)
• Goggles (If you don’t have a full face filter mask)
• Road Flares (For visibility during any disaster)
• Duct Tape (To block car air vents)
• Heavy Duty LED Flashlight (To see and signal through the thick ash, 2,000+ Lumens Recommended)
• Radio with NOAA Weather Station

You might also want to take a look at this list of countries ranked by natural disaster risk, I was surprised to see that Australia was rated higher than the UK, US and Canada at 4.22% chance.
Interestingly the highest is Vanuatu at 36.28% and the lowest is Qatar at 0.08% risk.
Country Natural Disaster Risk

Another very useful map is The Global Risk Map where you select what natural disaster you want and it will display the current risk or the history of that disaster in an area you specify.
Global Risk Map

Stay prepared!

Folding Sporks – A Terrible Idea

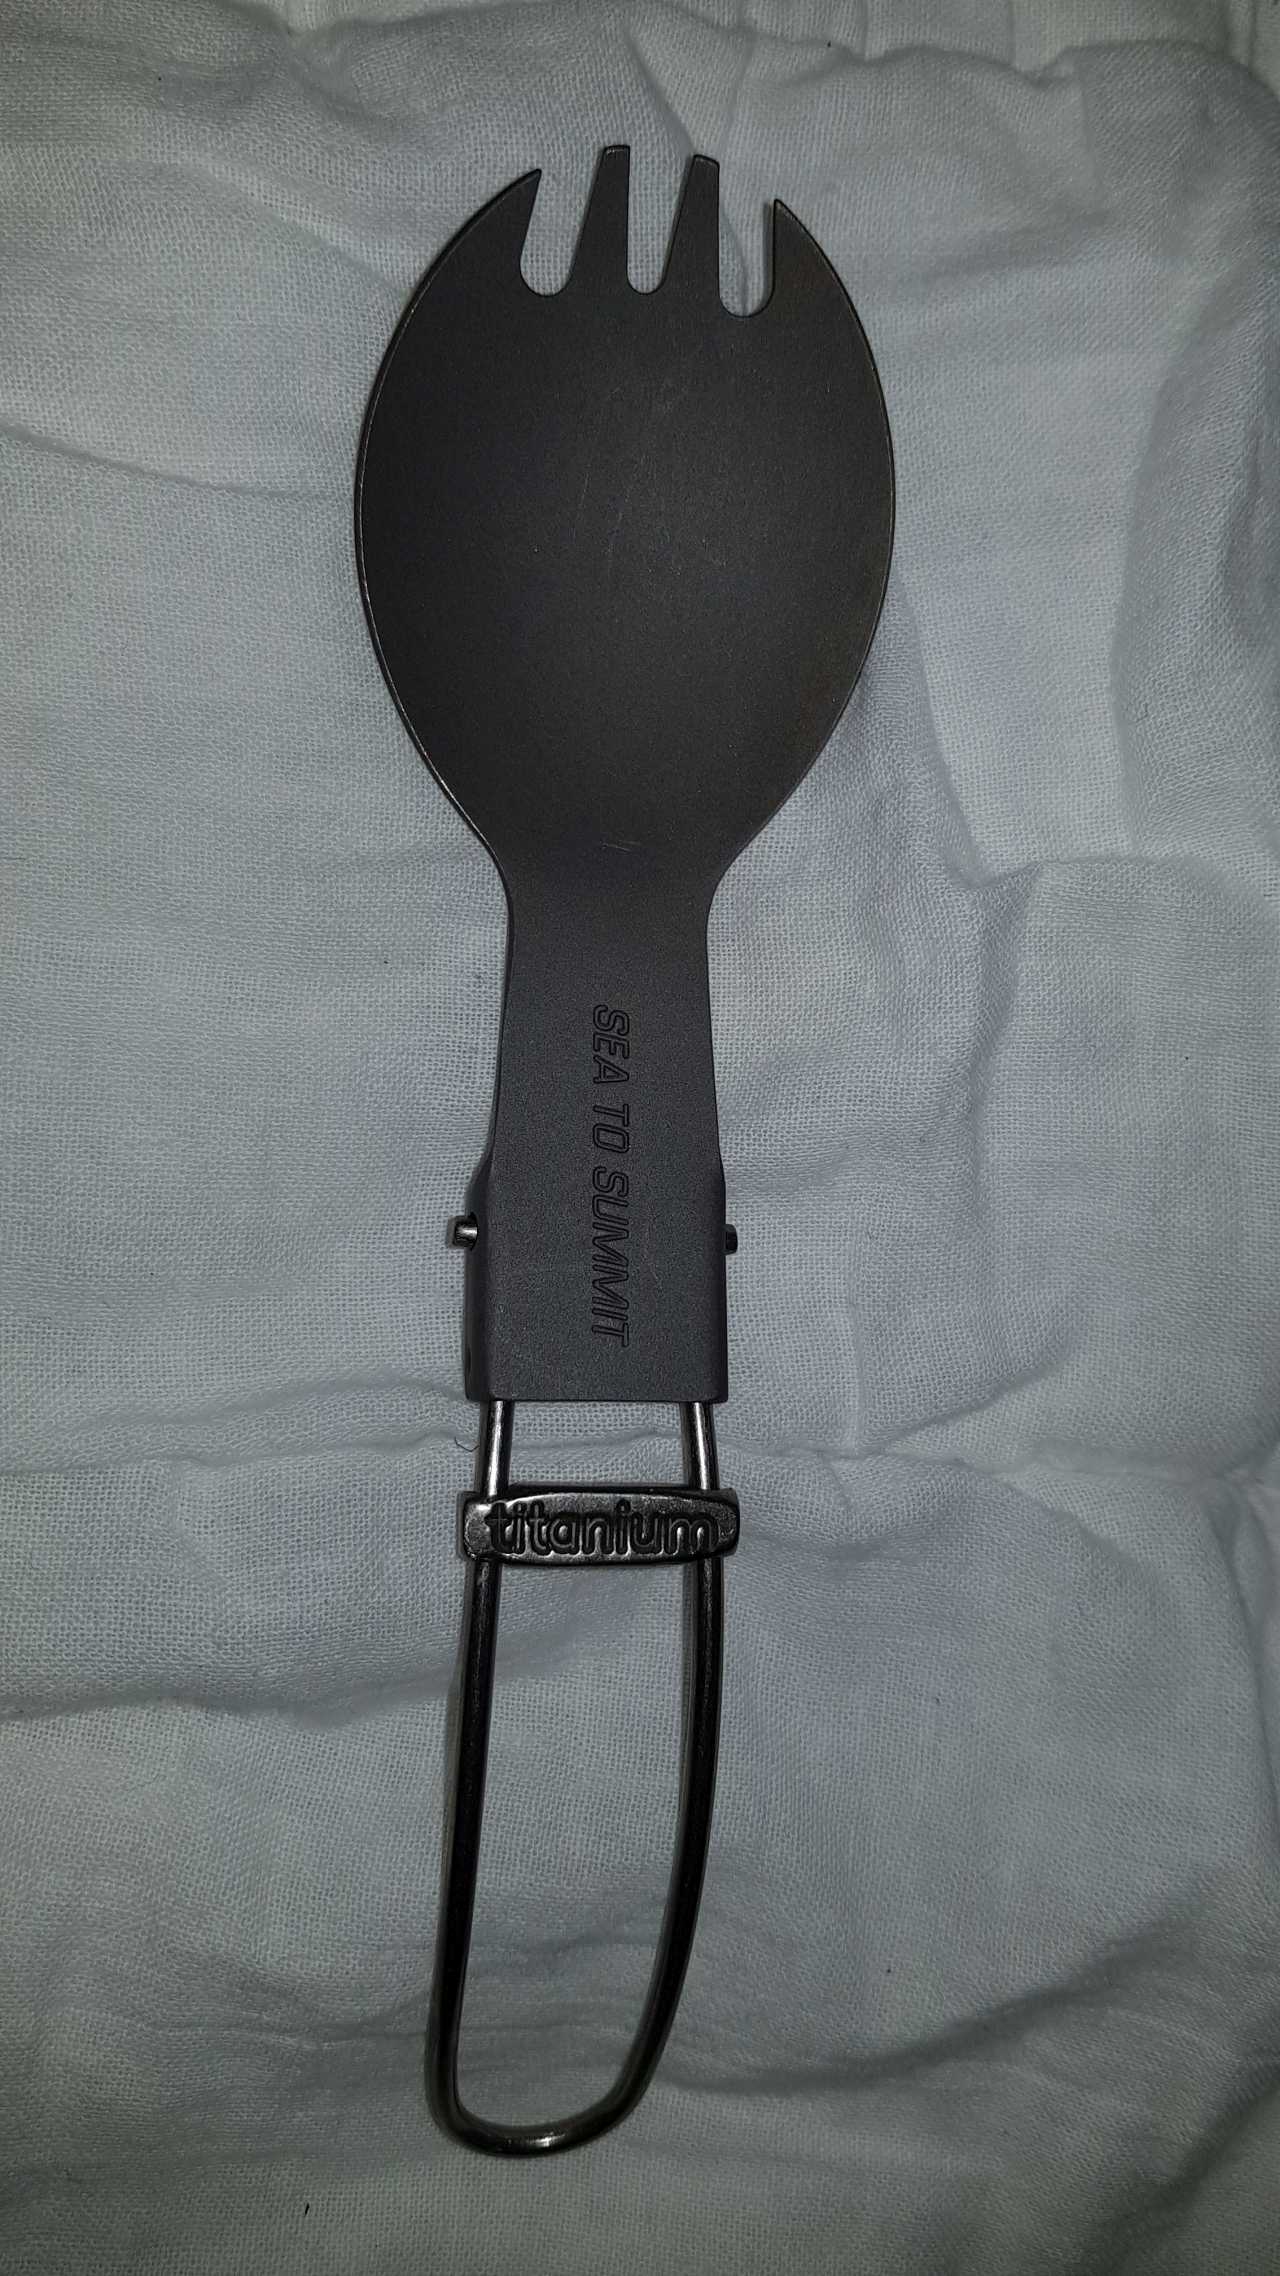
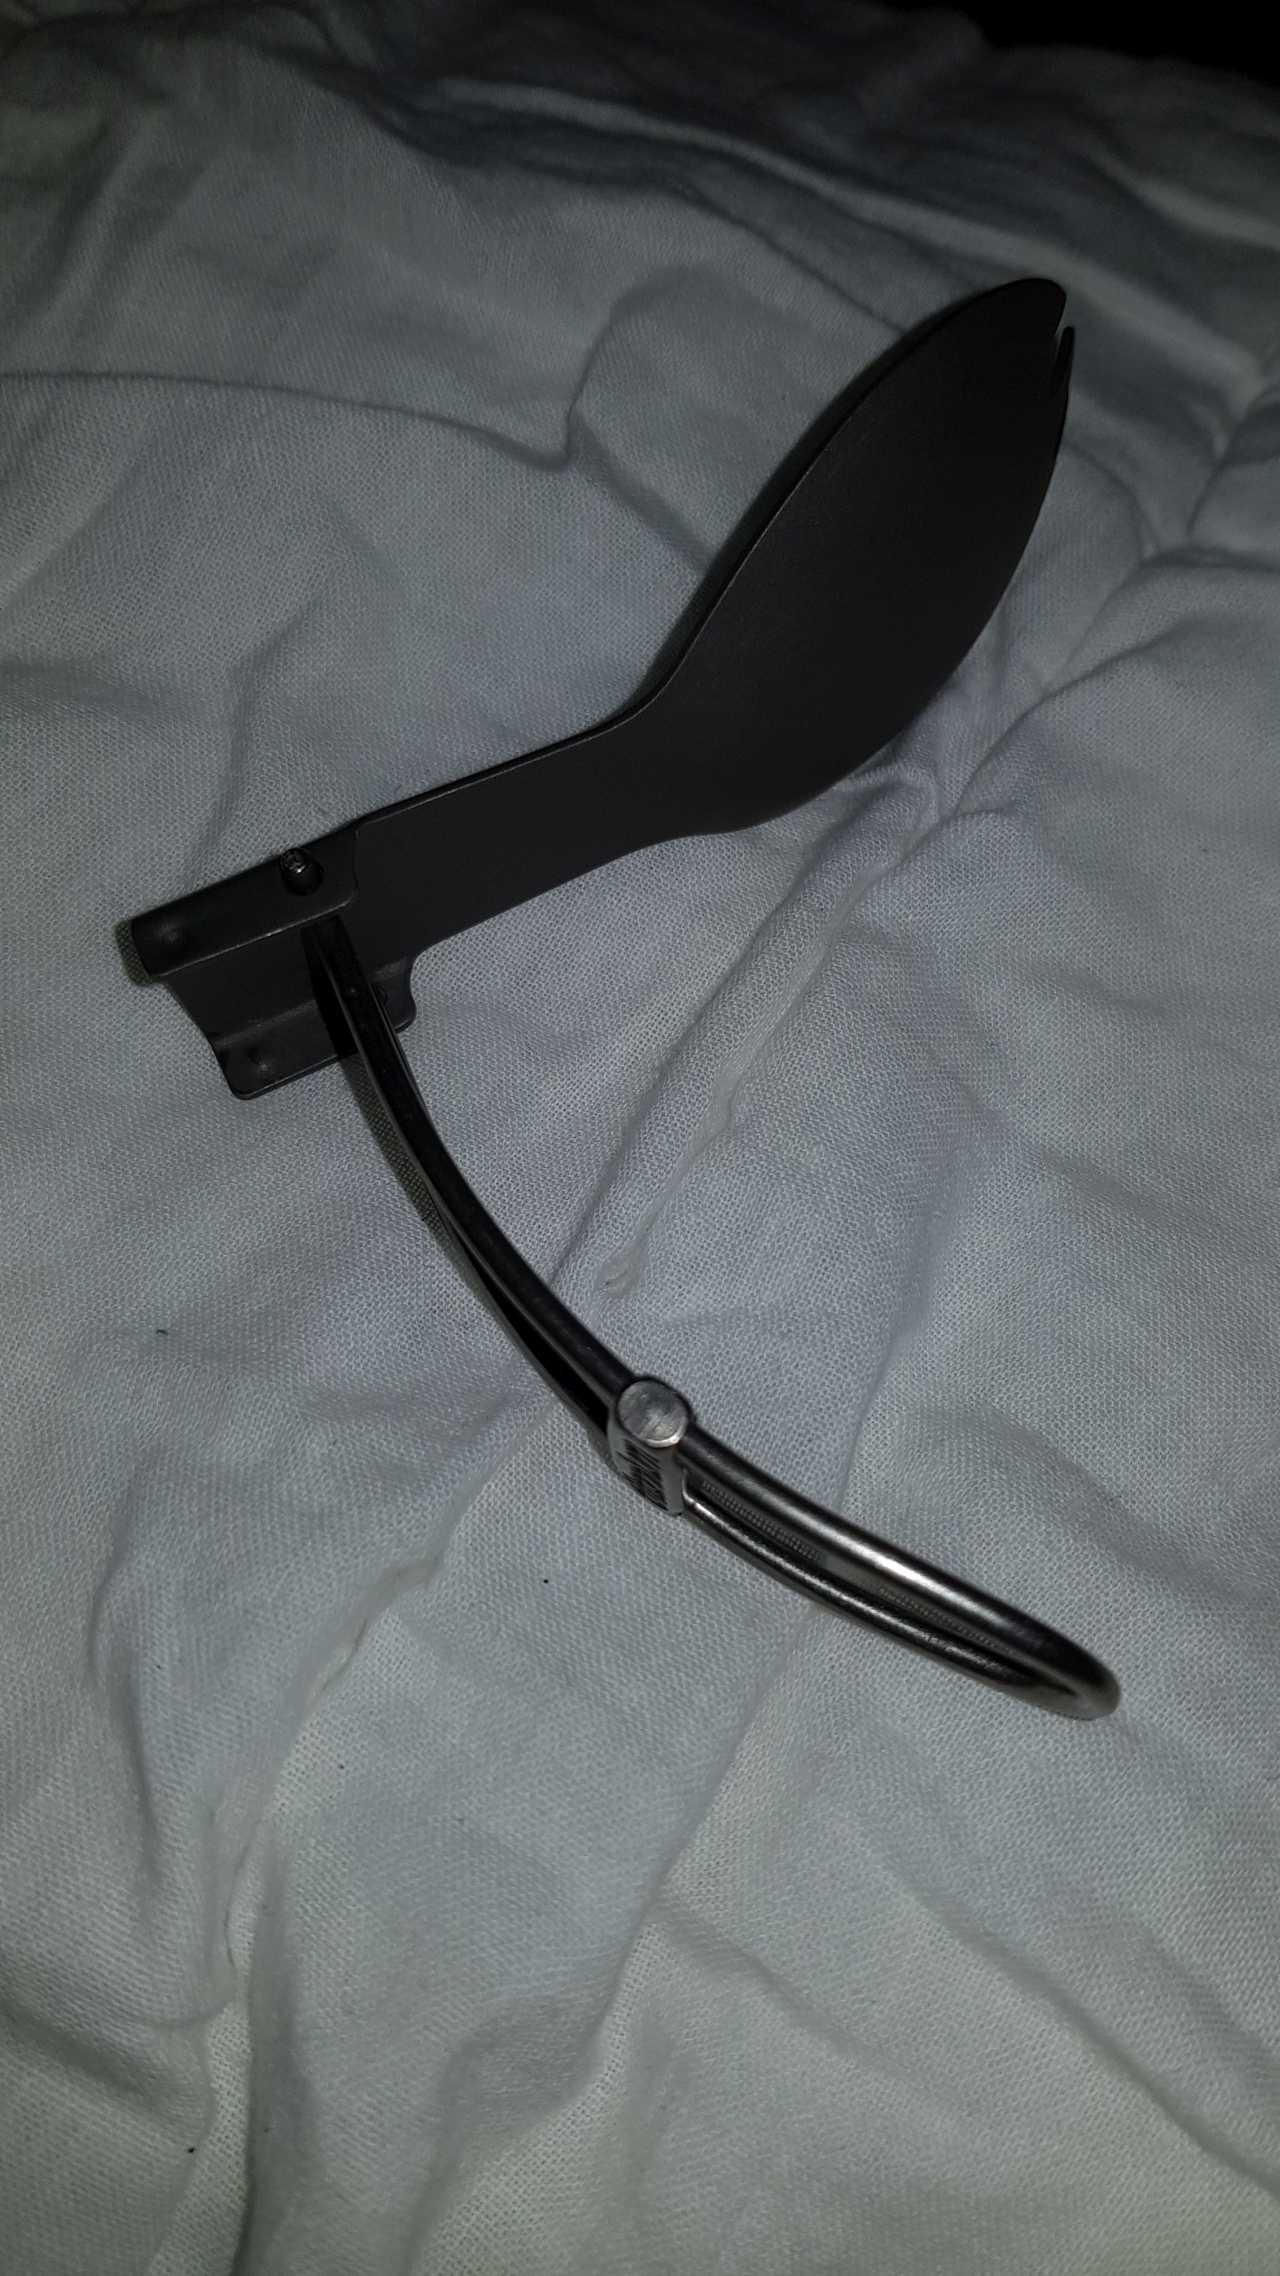
I don’t know what genius thought of making folding cutlery where the handle folds onto the bottom of itself because when you try to eat with it the whole thing just snaps back into the folded position when enough force is applied (Which isn’t much). This occurs a lot more when you’re digging into tougher foods and as a result you often get food on your hands when it folds unexpectedly, plunging your thumb straight into it. Yes, I’ve tried sliding the bracing bar down to the end but it doesn’t help much at all, it should lock into position if you do.

Preparedness Categories
Fig1. – The Sea to Summit spork.

Obviously the designer never tested the product and then sent it to market. This isn’t just Sea to Summit though (They are great in general), but everybody else seemed to follow suit and now you’re hard pressed to find one that folds the correct way. Wouldn’t it be much easier to design it correctly in the first place so when you’re scooping the ice cream from the bucket it presses against the bend instead of folding with it? Or perhaps it’s my fault for not just buying a regular spork… Let me know in the comments if you’ve had any similar experiences.

Preparedness Categories
Fig2. – The spork folded – in the wrong direction.

Bug Out Maps

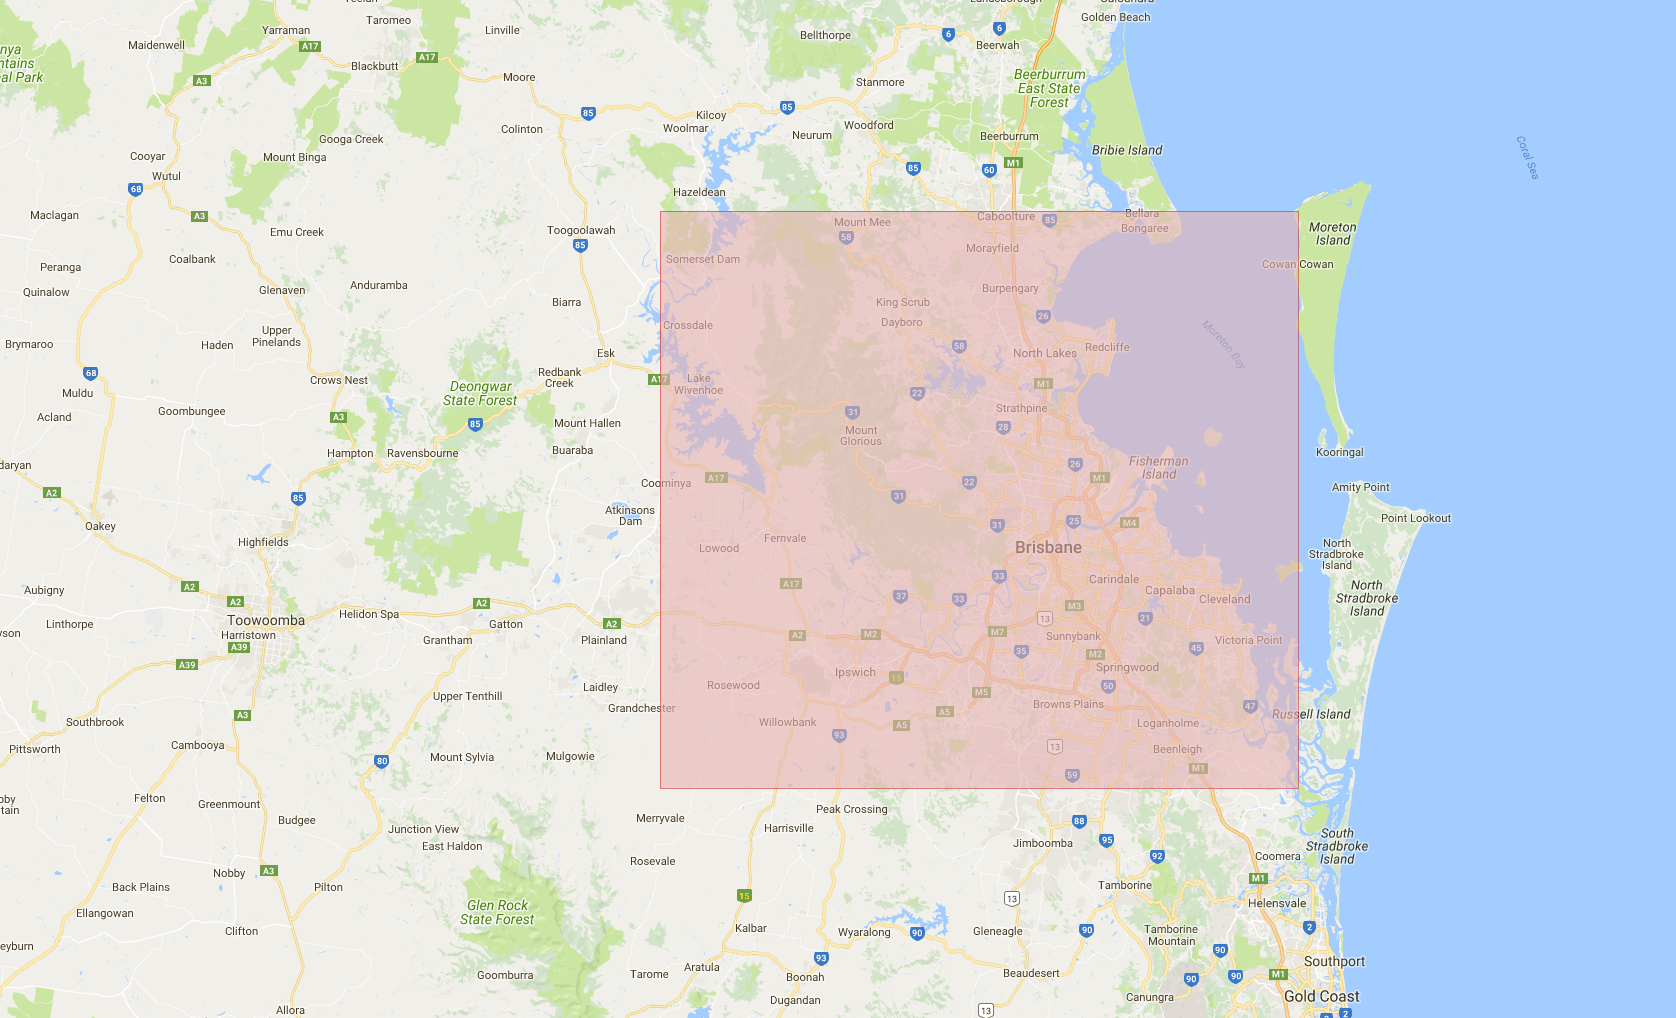
It’s essential for preppers to have a good map they can rely on while bugging out, whether that’s the good old paper maps or something more modern and digital like apps where you can make changes on the go and takes up less space and weight. A digital topographical map is your best bet when venturing into unfamiliar grounds during bugging out as it provides endless features you just can’t get on a paper map, however the most important factor in a digital map is that it must be available offline. Lately I’ve been downloading quite a lot of local maps in a few different mapping styles, such as Google Street Maps, Google Topographic Maps and Microsoft Earth Maps. Each has their own benefits when bugging out which I discuss in more detail below.

Preparedness Categories
Fig1. – Google Maps Region of Brisbane.

Google Street Maps
These maps are generally used for road navigation and turn by turn direction, the Zoom Level of 19 lets you go much deeper than the topographic map to provide a great view of individual house numbering and what sorts of facilities are nearby. These maps are obviously most useful in the cities and pretty useless in the country or other remote locations. They display some great locations such as power and water plants as well as things to avoid such as prisons and detention centers. They could also assist in helping you loot locations in SHTF by knowing where the water treatment plants, police stations and hospitals are that may be tucked away.

Preparedness Categories
Fig2. – Google Topo Region of Brisbane.

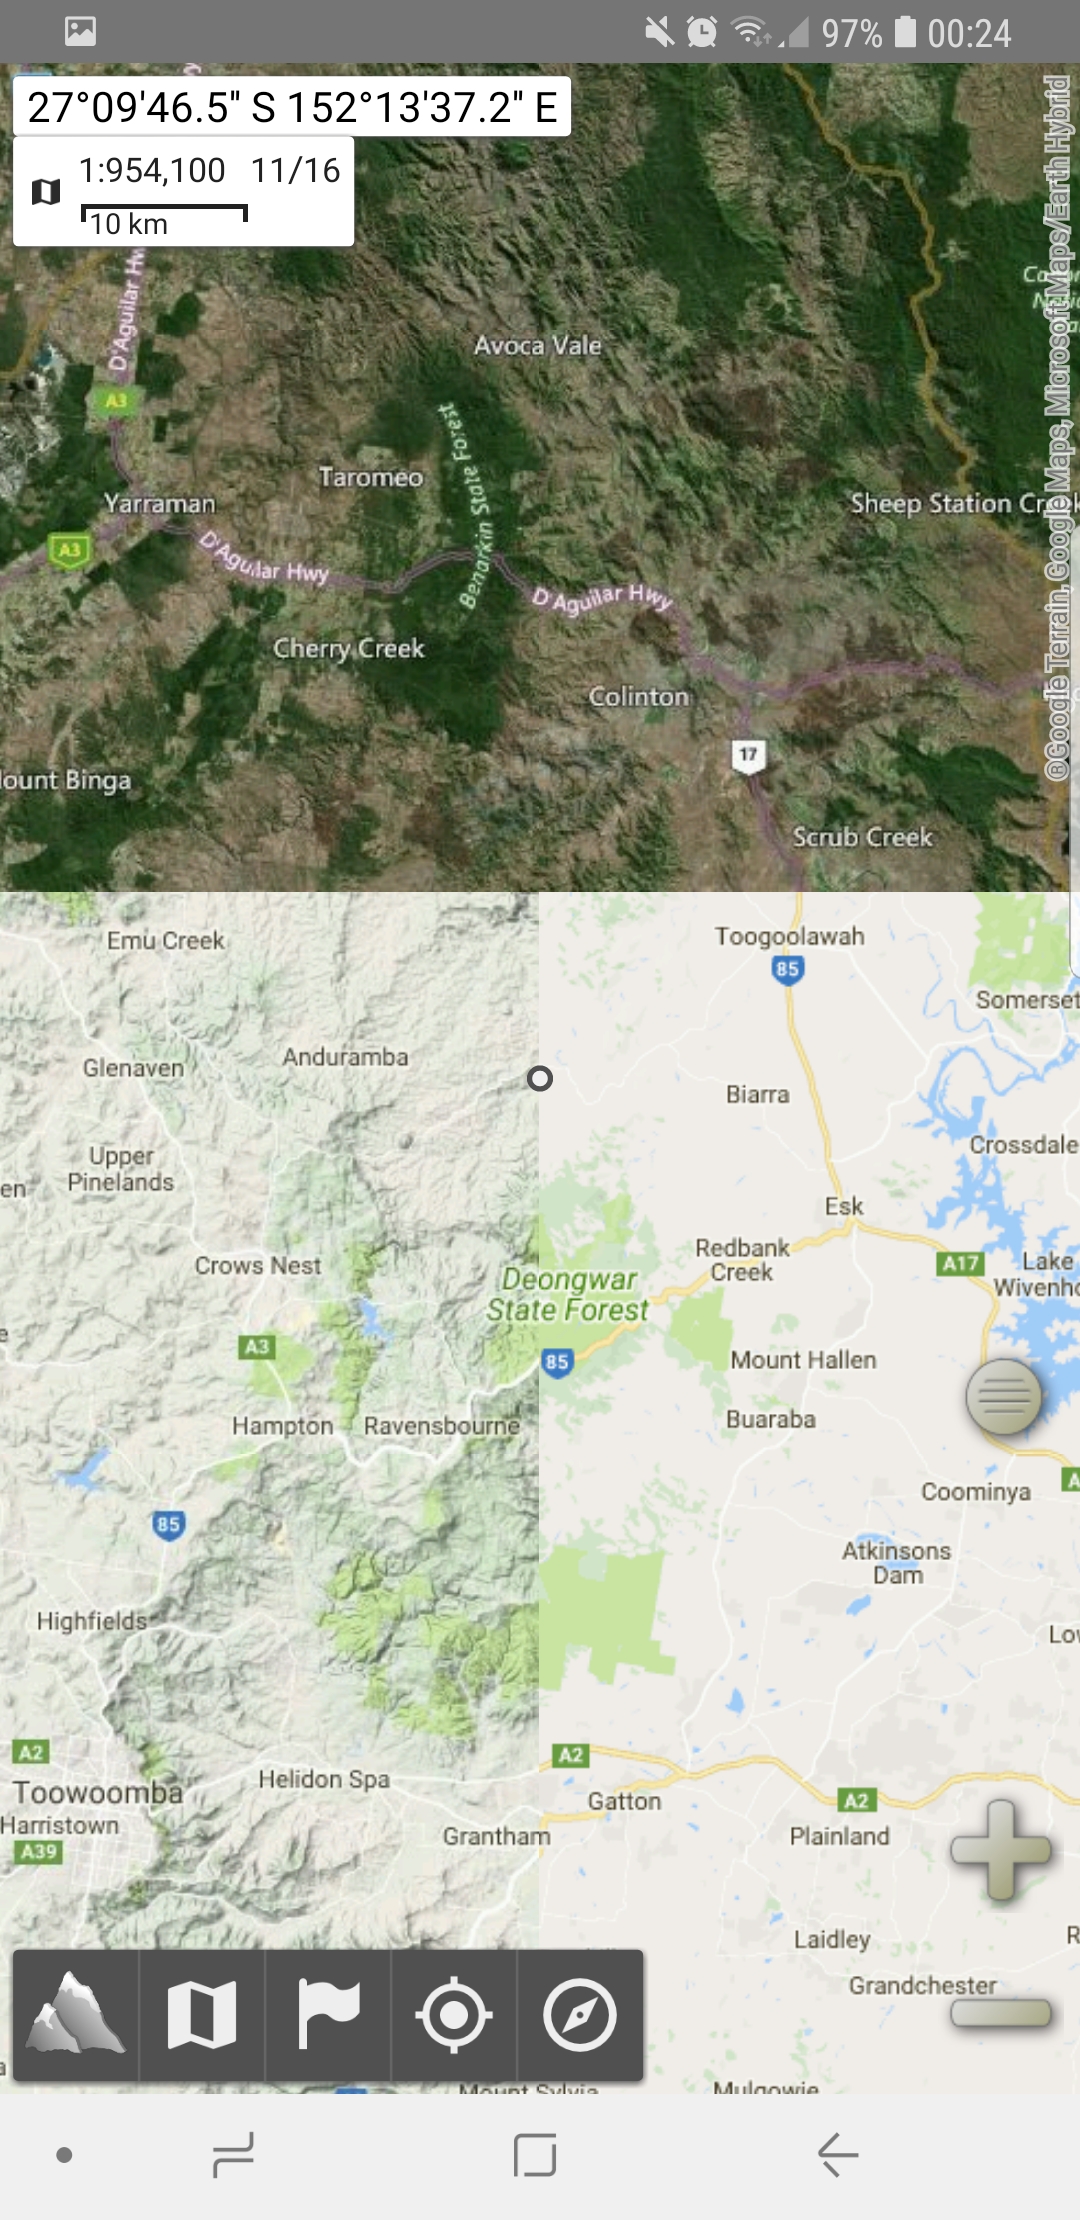
Google Topographic Maps
These maps are perfect for hiking as they display the terrain height and how much of an ascent or descent it will be from point to point as well as helping you find local landmarks to assist in the navigation process. The zoom level isn’t as high as the Street Map at Zoom Level 15 but it’s still excellent for hiking with.

Preparedness Categories
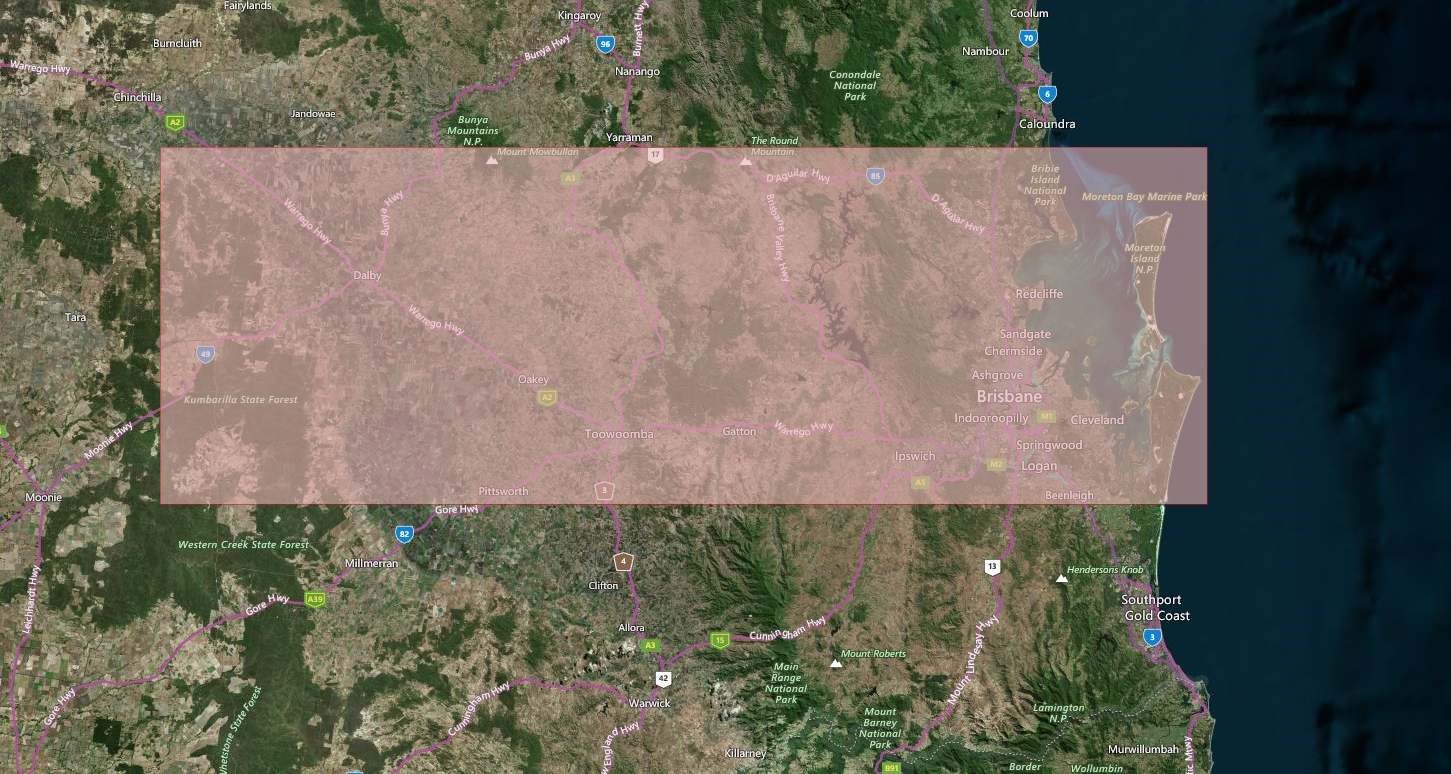
Fig3. – Microsoft Earth Region of Brisbane.

Microsoft Earth Maps
The most unique map showing satellite pictures of the landscape from space. This is amazing to find features not shown on the other maps such as small ponds, undiscovered buildings, and even telling what types of trees are in an area! The zoom level is very high and boasts the same level as the Street Maps coming in at Zoom 19. However all this comes at a cost of a greater filesize when downloading areas, I would say that these photo maps are about 6 times the size of the other two.

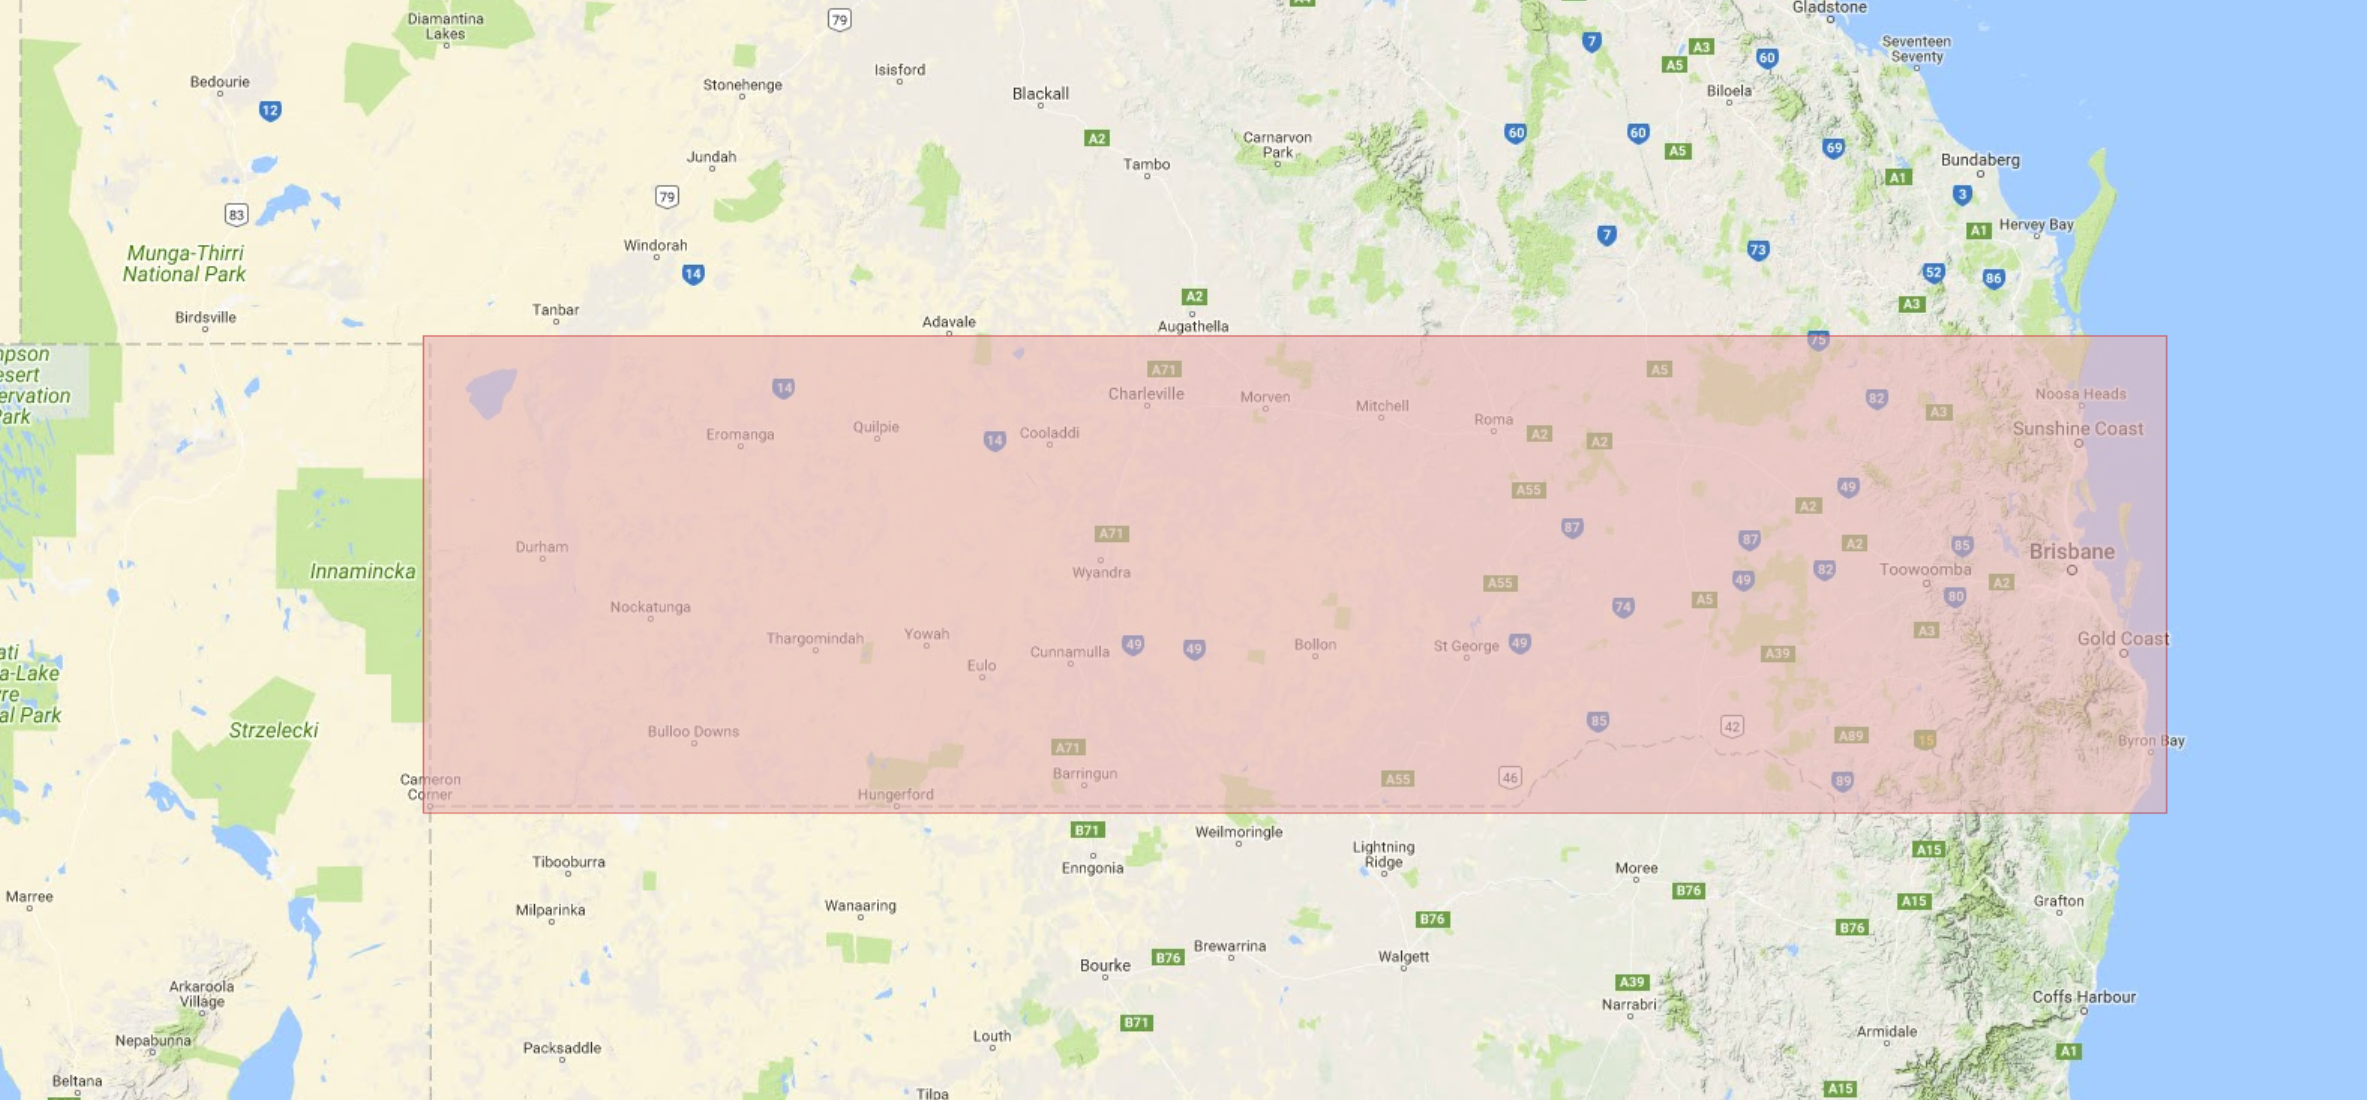
If you don’t know how the zoom levels work they start at zoom level 1 which is a shot of the entire globe as 9 tiles, then zoom level 2 you have the whole globe at 25 tiles, then level 3 at 81 tiles, level 4 = 289 tiles, level 8 = 66,049 tiles, level 13 = 67,125,249 tiles and level 19 having a whopping 274,878,955,521 tiles! There must be some massive servers out there somewhere to hold that many tiles. This is also why you select a region to download, it would be impossible to download the whole world at level 19! Not to mention you would only use the tiniest percentage of that area and downloading the entire earth would include the majority of ocean and Antarctica which are both useless. Although the struggle as being preppers we need to think of every possibility and this often requires us to download a large amount of area for bugging out and finding new routes if the internet no longer works. Personally I’ve downloaded the entirety of Australia using the Google Topographic Map, but to do this I had to use a rather low zoom level to fit it all in.

My application of choice for downloading tiles is Mobile Atlas Creator 1.8. This version lets me utilize the Google and Microsoft Maps which have been removed from the newer version of the program due to complaints of excessive server usage – which I can definitely see why. I used to have Backcountry Navigator as my go to mapping app which I loved, but it’s more expensive and I couldn’t get any good maps for it, even though it has my favourite map type – QTOPO which is Queensland Topo and the state I live in. QTOPO is even a lot more accurate than Google Topo but alas it wasn’t included in the MOBAC map source list.

Preparedness Categories
Fig4. – The differences between the three map types.

There’s a hard download limit of 500,000 tiles in MOBAC as well (in all versions), so if you want a large area you either have to go up a few zoom levels or do multiple separate downloads. You can however select a few areas (less than 500K tiles) to download in one go which helps a little, but this is eventually blocked by another limit if you go over 5 Million tiles or something like that. (I’ve never checked the actual tile limit for that so it could be anywhere from 2 Mil to 10 Mil tiles)

So putting these maps back into Alpine Quest I combine these different layers to create a flexible map which can change based on my location which is very useful. If i’m in a city I pop on the Google Street view for higher detail and when i’m in the country I use the Topo and Earth shots to see what’s around me and the terrain features. The best features I adore about Alpine Quest is the ability to leave waypoints anywhere I desire, mark areas, draw routes, measure distances, measure slope angle, attach pictures to waypoints and even get alerts when you’re in range of a waypoint. Give it a try if you’re looking for a great mapping tool, and try out Backcountry Navigator as well to compare the differences between them and see which one has the features you need.