Anyone who’s alive pretty much has, or uses a mobile phone today, including toddlers. But have you thought about the prospects of using your mobile phone as a tool in a survival situation and how it would work?
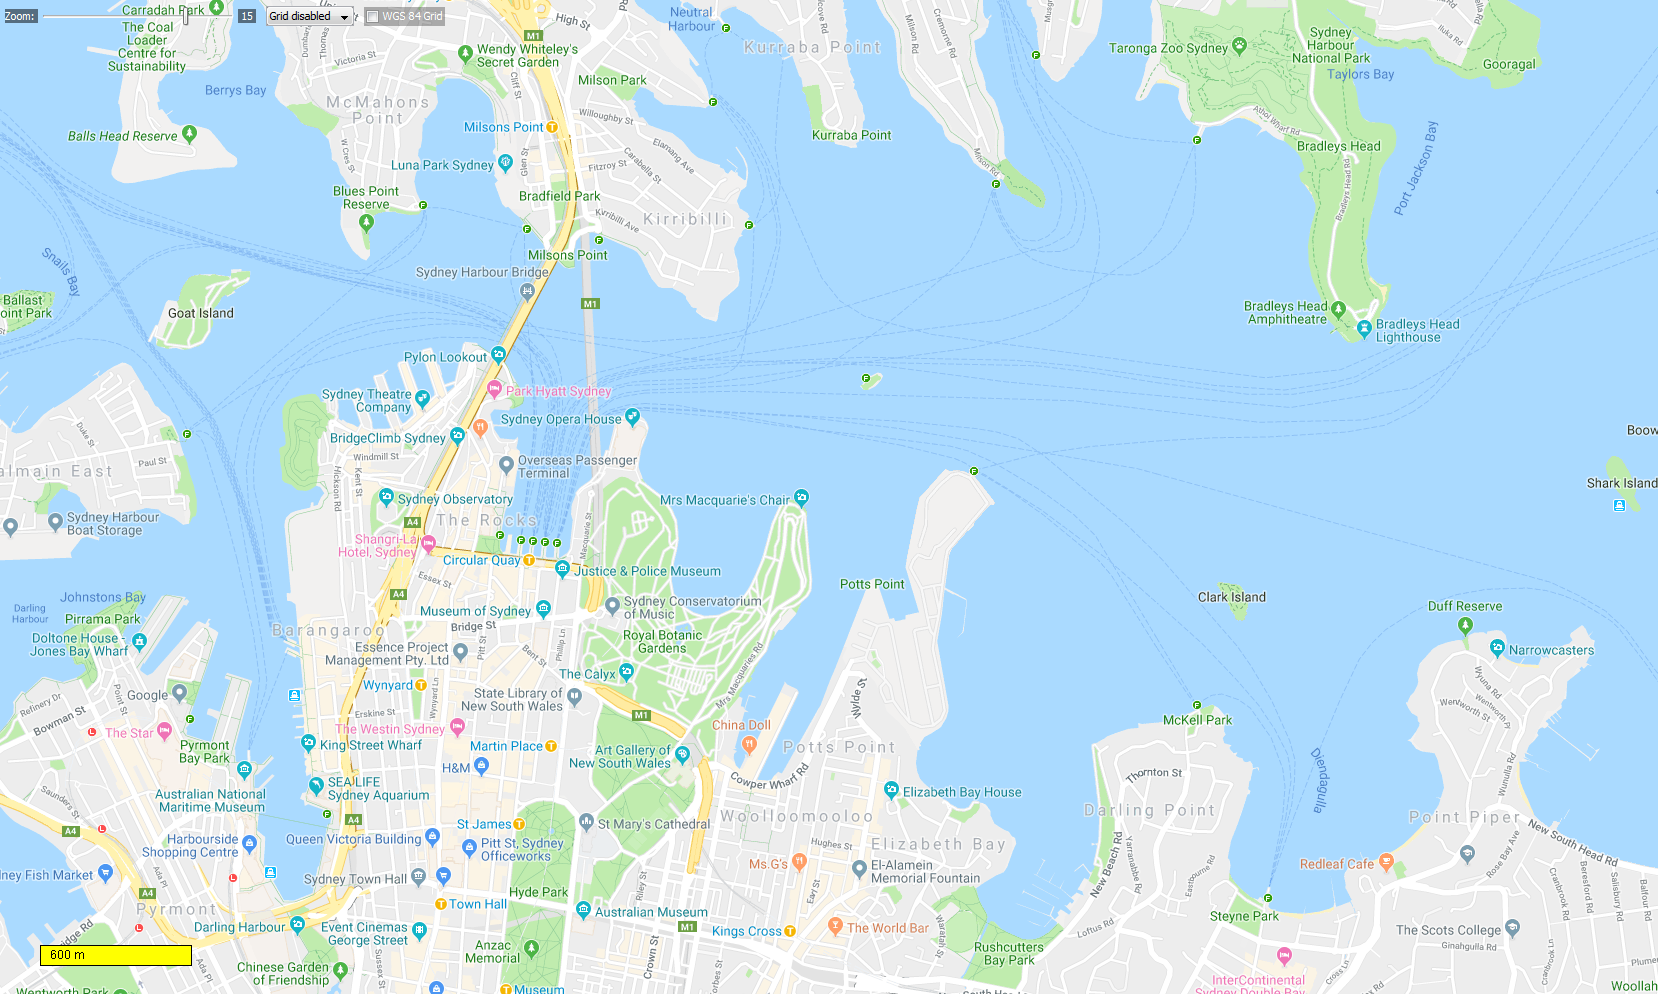
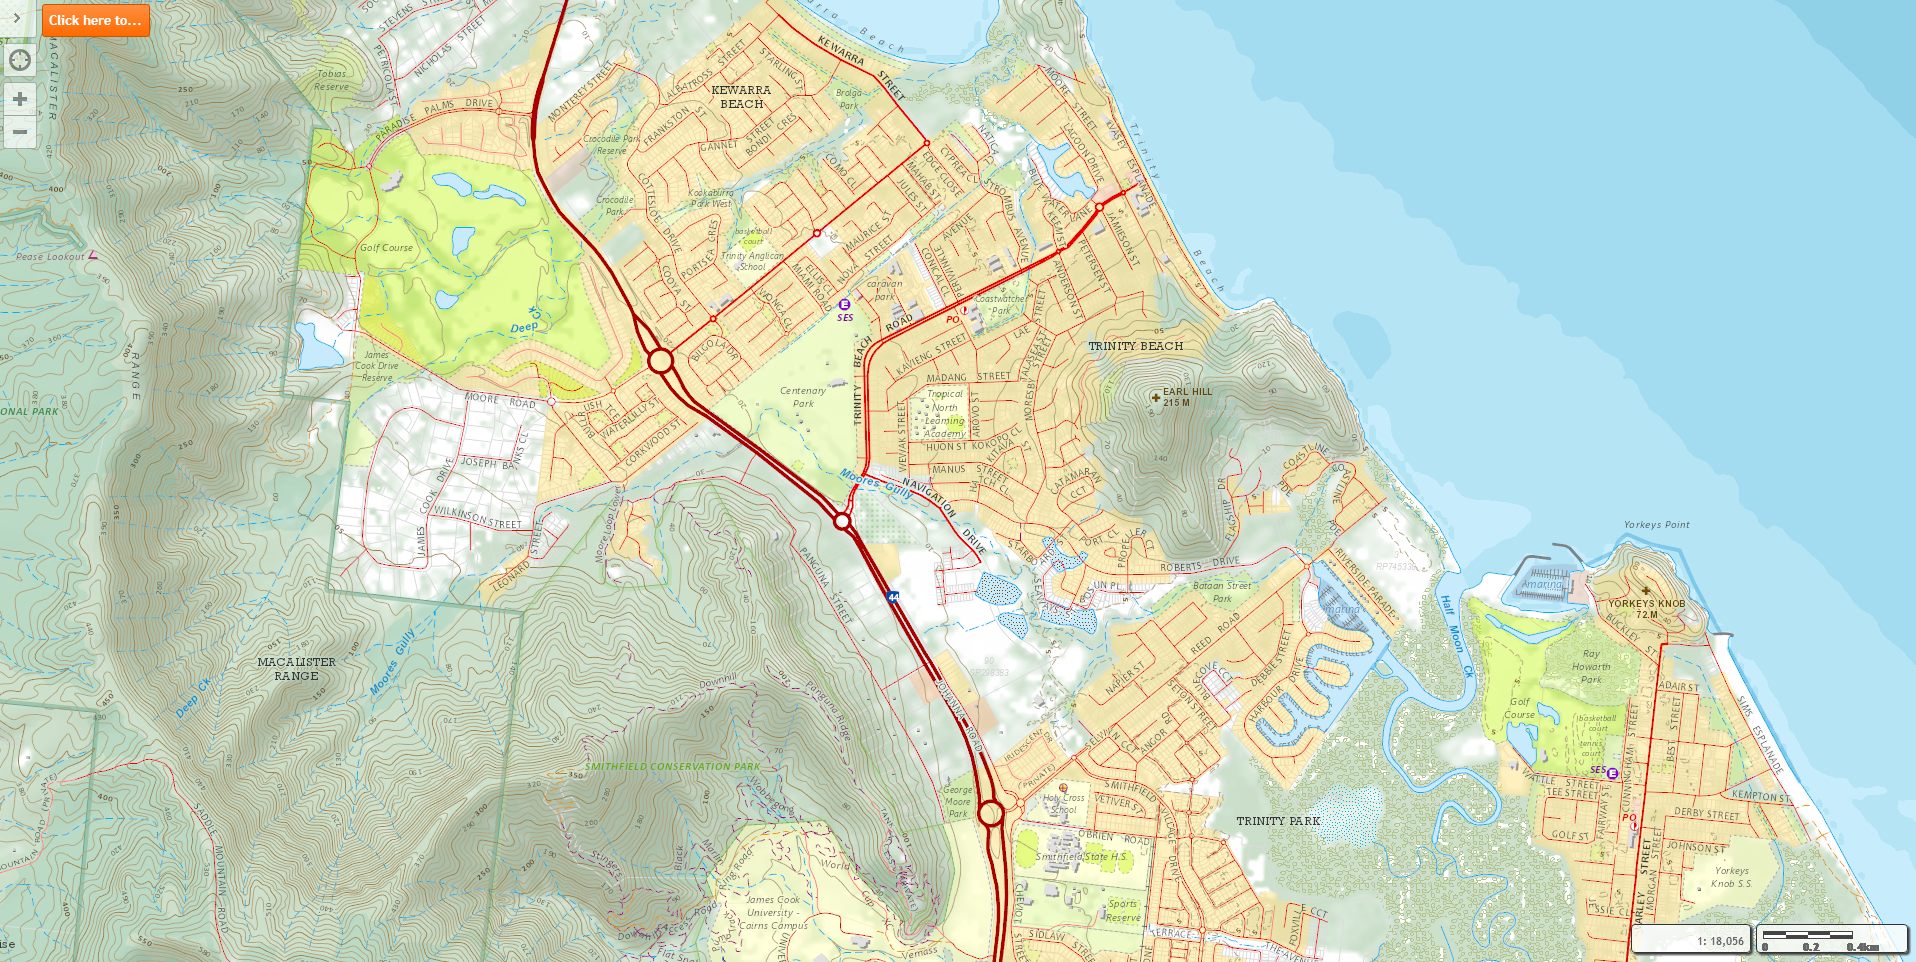
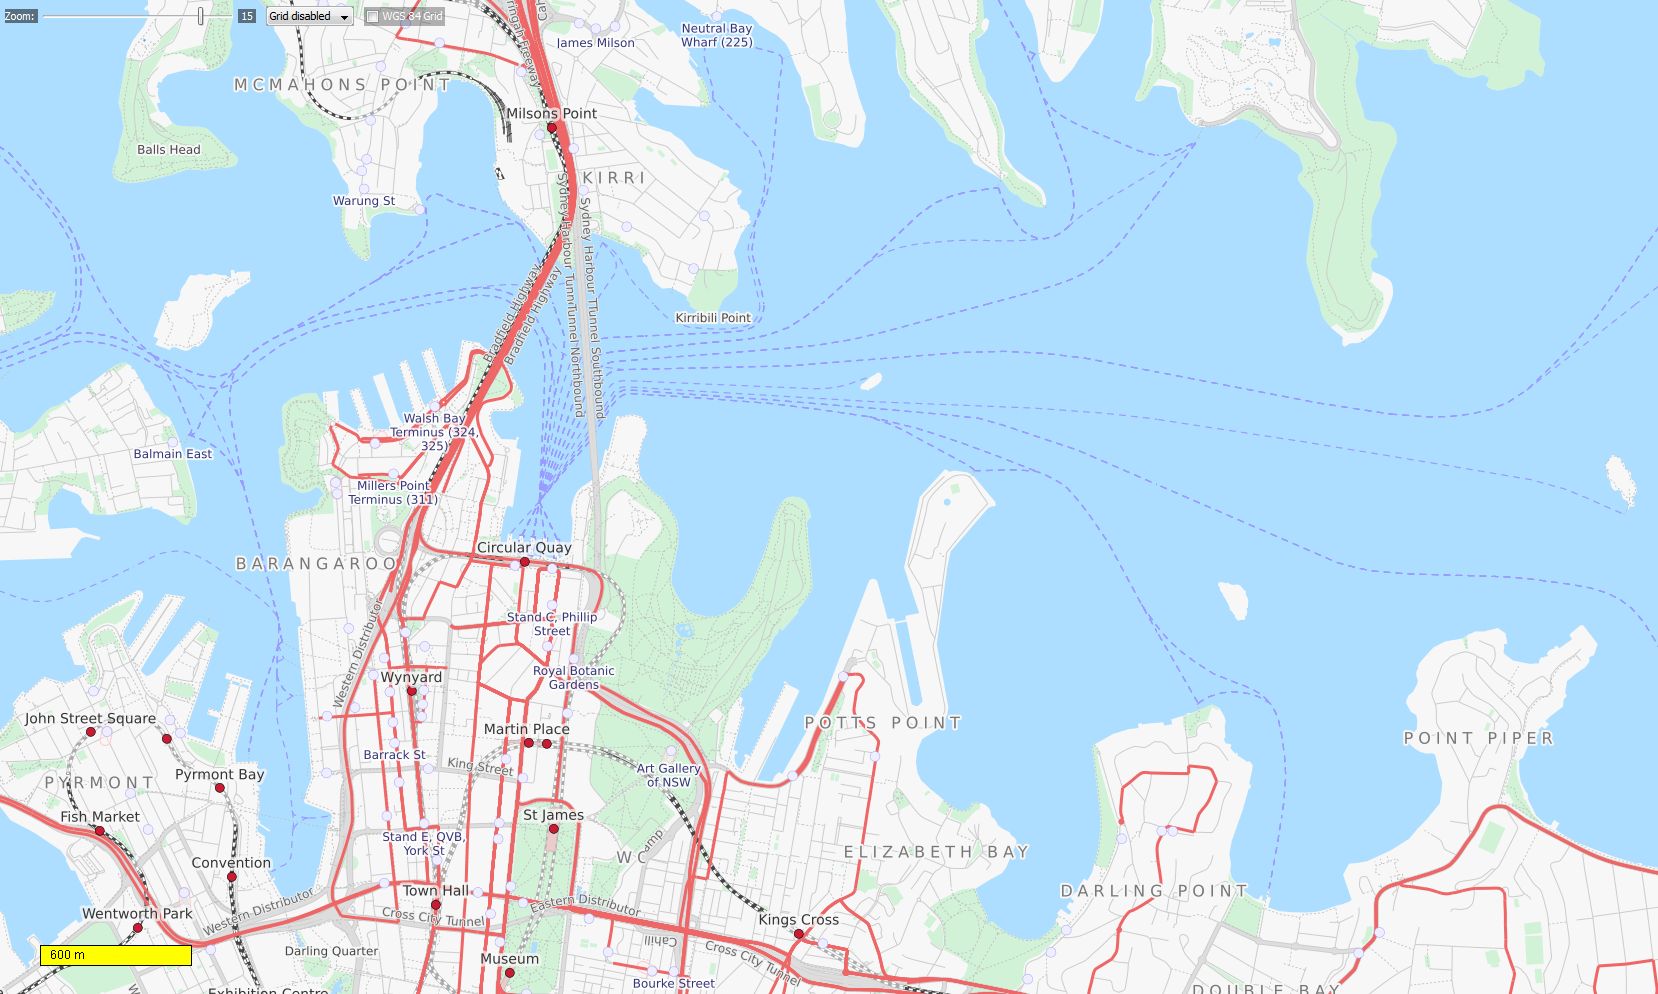
That’s what this post aims to look at, to see whether your current device is up to the task of serving your off-grid needs, completely devoid of an internet connection ever again. Most people haven’t thought about what exactly on their mobile would break in the event the internet was switched off. You may be surprised to find out that as time ticks by without it, more and more features of the phone would cease to operate. One example is Google Maps.
Did you know that even if you downloaded ‘offline’ maps in Google Maps, that they will only work for 30 days? Without internet they will work perfectly fine right up until they day the maps expire, but when that happens Google Maps will simply stop working and you may end up lost in unfamiliar territory – not the best start to the apocalypse.
I have cataloged multiple options below for choosing the most optimal offline device(s) for the collapse, assuming there’s no EMP. You would typically want more than one device with the exact same data in case one of them fails as well and perhaps another of a different variety to make watching content or reading eBooks easier.
This guide is written with the assumption that you want a smart phone rather than a old-school Nokia brick or something similar, since you would likely want apps which can support your prepping rather than just a ‘phone’.
Device Type
To choose the best device that suits your needs first you need to decide on a type of device:
● Phone: These are jack of all trade devices which provide a good medium between functionality, entertainment and portability. They are generally pretty frustrating to read e-books on and aren’t the best at watching video content either, but the small package means it’s lightweight and easy to transport. Today, a phone is pretty much an essential part of your Every Day Carry (EDC) kit since we all probably carry one everywhere we go anyway.
● Note Devices: Larger smartphone devices which often come with a pen for note-taking. They are generally 6-8 inches in size which also accommodates space to insert the pen into the device.
● Tablet: A larger device which is usually focused more on entertainment rather than functionality – such as phone calls. This device would be great to watch and store prepper related videos on as well as reading e-books and yes, watching movies on as well. Tablets can be pretty light and therefore one could make it into your Bug Out Bag or INCH Bag without too much weight gain – although I would recommend the next device for that instead…
● E-Ink E-Reader: These are similar to tablets but use a screen which can hold an image on it without using any battery which makes them amazing for reading e-books and PDFs during a Bug-Out situation. This is what you want if you are going to be reading documents and other informative e-books often as it will use the battery at a MUCH slower rate to a tablet.
Be sure to buy the Linux based devices rather than the Android ones as they retain batter for longer periods. An added bonus is that they are generally lighter than tablets and are more durable too. They can also be used for drawing and sketching which may come in handy, but is no substitute for a pen an paper, because at some point you will run out of power.
● Laptop: This is probably a bit too large and heavy to use as a prepping device, but someone may find a use for a powerful device and large screen such as this. This is a tool better stored in a Bug-Out location in an EMP proof cage than being carried on you.
My choices: Personally, I have a few Samsung S10+ phones (my primary preparedness devices) with one in an EMP proof bag, a Samsung S5e tablet for watching videos, playing games and reading ebooks and I’m looking at buying an E-Ink device for the long term reading of educational eBooks if electricity is scarce. I also have a laptop as my ‘prepper hub’ to sync the files between all the devices and to be able to much more easily type blogs such as this. It’s alsos also used to flash firmware to the portable devices as the other devices aren’t capable of this.
Remember that your usage patterns of the device will vastly change during an emergency. You probably currently spend some time on social medias and chatting to friends on various platforms. However when SHTF, you will pretty much only be looking at maps, reading preparedness manuals and books and watching saved prepper content, with the occasional game if you are stressed. Due to this, don’t choose a device with the best online capabilities or 50 fancy cameras, but instead focus on the aspects you really will need in your personal situation.
Hardware
Before we start looking at actual devices, we need to consider what features it should possess. Have a look at my list below on what I wanted in my prepper phone, and then start your own list rating them on how important they are to you. Have a look here if you want some more ideas of common features on modern smartphones.
● Screen: Generally the device type you choose above will dictate the screen size you have, although you still have a bit of leeway up or down. Pick a size that suits what you will be doing the most of. Remember that higher density is not always better as it will drain the battery faster – even if you set it to display at a lower resolution. e-Readers should have as high a screen resolution as possible since they update the screen infrequently it won’t make much of a difference to the battery life, but you will also be able to read text much more clearly.
My choice: About a 6.4 inch screen at 1080p or 1440p.
● Repairable: How easily can the device be opened and repaired or maintained if a component in it breaks? Also how readily available are parts for it? Have a look on iFixit.com to see scores on how easily a specific device is to repair. If it’s complex, you may want to practice and open it before a disaster hits so you know you can do it without damaging any components – such as the fragile screen.
My choice: The iFixit score doesn’t matter to me much as I’m quite adept at repairing technology.
● Battery: You are going to want a decent battery in any modern device so it can last as long as possible. This is also one of the primary components you will want backups of when the original fails. Ideally you want a removable battery, but most phones today don’t give you that option.
My choice: My S10+ has a 4000mah battery and I have 2 spares. I also have an ifixit kit to open the phone to do the battery replacement.
● Phone Status: Locked/Unlocked
My choice: This won’t matter in a grid-down situation, but for now I prefer to have it carrier unlocked so I can use any network SIMs in it. When the grid does go down, I will be removing the SIM anyway.
● Camera: Wide, Telephoto, Ultrawide etc.
My choice: I don’t mind what camera a phone has, as long as it has a single one on the back. If it has a front camera, I don’t want it using up screen real estate. (One of my main annoyances with my S10+)
● Storage: You want to look for the biggest storage space possible to keep all the files you’ll end up saving to the device. Generally people regret not going up in size, rarely do they say they wish they bought the smaller model, plus when you start loading up the storage with prepper videos, maps, books and entertainment you will find it runs out pretty quickly.
My choice: For my S10+, I look for a 512Gb or 1TB phone.
● Micro SD Slot: In my opinion, this is an essential feature for any preparedness phone I’m looking for, since I can plug in a 1TB MicroSD card and instantly have a huge volume of space to do whatever I need.
My choice: Absolutely need this. I also have an array of MicroSD cards full of different prepper content which I can plug in and transition between at ease.
● Port Type: Do you want a USB-C, Micro USB, Mini USB or another type of charging jack?
My choice: Type-C port since I can also plug in my 1TB T1 Samsung portable SSDs into my phone to access a huge array of prepper videos if required. With all the above storage plugged into my phone, this essentially brings the total storage space up to 2.5Tb (512Gb Phone, 1TB MicroSD, 1TB USB-C SSD) – more than enough…. for now.
● 3.5mm Audio Jack: Used to plug old-school headphones or earbuds into.
My choice: I like to have this if possible to avoid wireless devices when in the field which could give away my position. The audio jack is often used as an antenna by wired earphones for the on-board radio in some devices – so if it doesn’t have the audio jack, it most likely doesn’t have radio capabilities.
● Loudspeaker: This may be useful if you want to play wildlife calls to attract animals, otherwise you are likely never going to need a loudspeaker and it may be wise to physically disconnect it from the motherboard to avoid accidentally playing music and giving away your location.
● Network Type: 3G / 4G / 5G
My choice: I avoid 5G phones, so I stick with older models of Samsung phones before 2020. The older phones also have better compatibility with custom roms due to being tried and tested over the years.
● Sensors: Fingerprint, accelerometer, gyro, proximity, compass, barometer, heart rate, SpO2 etc.
My choice: I just look for the compass and barometer primarily, the rest generally just come with every device today.
● Positioning: GPS, GLONASS, BDS, GALILEO, QZSS etc.
My choice: I try to get all of the above to make it easier to find my position in offline apps. Most devices today come with at least one type of positioning, however be sure to check the specs on as older tablets may not have any.
● Charging: Cable, Wireless (Qi), Reverse Wireless, Fast Charging
My choice: Grid-up, my choice is to use wireless charging to save the USB-C port (since each time you plug in the cable, it gets ever so slightly damaged until the port eventually fails and you have to hold the cable at a particular angle to get it to charge). Grid-down I will use cable charging as wireless charging is inefficient due to some power being lost during transmission.
● Flip Devices: As a prepping device, you want to avoid anything that can cause your device to break prematurely, and a big cause of failure is any device that can fold. This technology is still relatively new and over time the folding mechanisms have been known to fail, either partially or catastrophically. Even though your screen is more protected when flipped shut, you don’t want water somehow seeping into the seam and causing the entire device to stop working. The less points of failure you have – the better.
My choice: Avoid flip & folding devices.
● Waterproofing: Ideally you will want your device to be usable in heavy rain and also be submersible in water up to a meter or two (in case you drop it into a river). Look for an IP67 or IP68 rating when choosing a phone.
My choice: Look for an IP68 device.
● Toughness: Finally consider the toughness of the phone. Will it easily break if dropped? Are you the kind of person who drops their phone often? I’m EXTREMELY protective of my phone and always ensure I put it fully on a flat surface, double check it’s in my pocket before exiting the car (since I hopped out of the car with it on my lap once – RIP S7 Edge) and I don’t carry anything else in my pocket when the phone is in there to prevent it getting scratched by keys etc. Even then, I have cracked 2 phones, so either choose a tough device that can handle the stress of a SHTF world, or carry backups and spare parts.
My choice: Being highly ‘precious’ with my phone, I opted for a device with a large screen and curved edges, but also have backups of the same phone as well.
Have a think about any additional features you would like your prepper phone to have and add to the list above. Consider whether they should be essential, useful or nice-to-have features.
Device Manufacturer
Next you want to look at the which manufacturer you would like to go with which has all the features you listed above. At the same time, you also want to have in mind the next step, which is the operating system you want to use.
● Samsung Devices: Cutting edge devices that generally have it all. A couple of things to gripe about such as the recent removal of the MicroSD card slots and the 3.5mm ports from their newest generation phones (from 2010 onwards). Some models have ugly camera cutouts as well, such as the S10+. Samsung phones are not easy to repair yourself and generally don’t have user replaceable batteries. (LOS – Lineage OS & EOS – eFoundation Compatible)
● Google Devices: The hardware of the Google devices is highly secure, but we want to avoid big tech companies operating systems running on top of that. If you choose a Google device, make sure you flash a new OS onto it such as Graphene – if not, try to avoid Google devices. Also google have dropped a lot of the best prepper related hardware such as the MicroSD slot and the 3.5mm audio jack. (LOS, EOS, Graphene Compatible)
● Apple Devices: Avoid! You can’t install custom ROMs on iPhones so you’re stuck with the apple iOS which is terrible for a number of reasons listed in the section below.
● Sony Devices: Generally pretty nice devices. (LOS & EOS Compatible)
● LG Devices: A little lackluster in the ‘wow’ department like Samsung phones, but LG’s phones are generally pretty rugged and have the features I need such as a MicroSD card slot. (LOS & EOS Compatible)
● ASUS Devices: Another decent phone manufacturer which has some pretty cutting edge features on their devices such as pop-up cameras. (LOS & EOS Compatible)
● Fairphone Devices: A very privacy focused company. Some of their phones are a bit plain but they work. (EOS & LOS Compatible)
● Motorola Devices: (LOS & EOS Compatible)
● Xiaomi Devices: (LOS & EOS Compatible)
My choice: I went with a Samsung device as I’m already familiar with their operating systems and there is such a huge range of phones to choose from I could get nearly exactly what I was looking for in a phone. Also due to their ubiquitous nature modding flagship phones is fairly straightforward. If you need help choosing a company to go with, first decide what operating system you prefer and look up their website to see what phones their OS currently supports.
Operating System
● Android
This is probably the most ubiquitous operating system out there, but there are so many variants of it that you have to look deeply into what features it provides and what ‘bloatware’ the manufacturer has installed. Different manufacturers also have varying policies on tracking their users, such as Google and Samsung which you may want to look into.
● iOS (Apple)
I would avoid apple products AT ALL COSTS due to their closed source, non-privacy friendly behaviour. There’s so much more, so I’ll summarize it quickly: They have a culture of cloud storage and synced devices. Devices have limited storage space – compared with other devices with expandable storage. Very difficult/impossible to sideload content. They gather and store information on their users. You can get ‘locked’ into the iOS environment. Their devices are essentially ‘glued’ to the internet. You can’t customize or expand the storage space. There are no audio ports anymore. The software is locked down. It’s difficult and also fairly pointless to jailbreak.
● Lineage OS (LOS)
A deGoogled operating system for a variety of phones and tablets. It’s a powerful and privacy focuses OS and can be greatly customized and also features a very large user base. The code is open source so there’s less likely to be shifty things going on under the hood.
● EOS (E Foundation)
Another deGoogled operating system for a larger selection of phones and tablets than the above. EOS is a little more user friendly than Lineage OS for those starting out. It’s also open source with their mantra being “Your data is YOUR Data”.
● Others (Graphene, Ubuntu, Ubuntu Touch, CalyxOS, POP! OS)
Feel free to look into using any other operating systems which take your fancy. Ubuntu and POP! OS are operating systems for laptops if you’re going down that route.
My choice: I went with EOS for its privacy friendly and open source nature. I also have files to be able to flash Lineage OS onto my phone at any point in the future without needing the internet. Both of them are pretty much the same, but EOS is slightly more user friendly and Lineage is slightly more secure.
Superuser
There is a degree of skill required to build a prepping phone from scratch due to the need to flash a new operating system (OS) onto the device and the requirement to root it – which if you do either of them wrong can ‘brick’ the device and cause it to be unusable. Don’t worry though, I’ve made some mistakes flashing my device and there always seems to be a way to recover from it.
If you don’t want to go down this route, or don’t feel that you have the skills to do this you can always stick with the original OS and not modify anything – just be sure that you will be more vulnerable if there was ever a cyber hack or the ‘powers that be’ decide they want to track your phone. Below are the four different levels of manipulations which you can modify your phone.
● Stock OS – No Root: This is the default operating system that comes with the phone without root privileges. Most people have this setup by default. There is nothing you need to do to achieve this as phones just come ‘stock’.
● Rooted Stock OS: The default OS with root privileges. This gives you superuser access and allows you to modify pretty much whatever you want. At the very least I recommend rooting your stock operating system to gain the ability to perform superuser functions like backing up and restoring apps.
● Custom OS – No Root: The existing operating system has been replaced with a new one, but the phone is not rooted. This is a pretty rate occurrence as rooting can easily occur during the installation of a custom OS.
● Rooted Custom OS: In my opinion this is the best setup for privacy and the ability to modify your phone to suit your needs. It requires some skill to do and the process is different for each device, but generally there are complete guides to follow online for most of them – at least for the most popular phone models. There’s really only a few more steps to this over the step above, so you might as well go the full way if you’re modifying your phone.
Apps & Software
Finally we get to the apps & software you want to use on the device and whether it’s worth choosing one device over another for certain features.
For a list of preparedness apps I use on my device including links to download them, have a look at my blog post on The Best Prepper Apps to Download.
User Recommendations
To make device selection easier, I have included a list of recommended prepper phones that have been suggested by notable figures on the web.
Modern Smartphone Pick: Samsung Galaxy S10/S10+
This phone is a modern all-rounder, featuring the latest technologies (for its time) such as a nice screen, microSD card slot, 3.5mm audio jack, wireless charging, a radio (in USA/Canada), no 5G and more.
Although I use the S10+ model, really any Samsung phones around the 2019 era have a great array of useful features needed for prepping. Have a look at the S8+, S9+ as well, as they are all similar with slightly different designs, features and batter sizes, so you will probably find one that suits your needs. The S8/S8+ is smaller and much lighter phone to the S10 if that interests you.
Even though I have (and use) the S10+ model, I find it frustrating having a large cutout on the screen taking up screen real estate. The only different between the S10 and S10+ is the size of the screen, the battery size and the Ram – out of which I only really care about the battery.
The negatives of my S10+ is the screen cutout – I wish there was just a small circle, or nothing at all. Also the non-user replaceable battery is frustrating as there’s quite a lot of steps opening the phone before you get to the actual battery. Finally, I would have liked an FM radio in mine.
A point to note – only the Exynos model of the S10 can have the operating system modified, so be sure to look into flashing your own OS before committing to any phone if that’s a route you want to go down. I would read through the flashing guide in its entirety to see if there’s anything you have missed, such as the software only working on a particular model of a phone or whether there’s any known bugs.
Cheap Smartphone Pick: LG G4 (Canadian Prepper Recommended)
This 5.5 inch phone features a user replaceable battery, a microSDXC slot, a decent 1440×2560 screen, a 3.5mm audio jack and an FM Radio which is rare on phones. Downsides are that there’s only 32Gb internal memory, only 3000mah battery, it has a microUSB port and the phone is now discontinued so it may be hard obtaining one. This is a fairly old recommendation so there are likely to be better models now which have more modern hardware.
Ultra-Privacy Centered Pick: Librem 5
This unique phone has 3 kill switches on the side to physically disconnect the 1. WiFi/Bluetooth, 2. Cellular Networks, and 3. Microphone and Camera for maximum privacy. Each switch will also disable the GPS when flicked as well, which may not be ideal if you are trying to navigate while ‘stealthed’. It also has a user replaceable battery and a microSD card slot. It has a low resolution screen coming in at 720×1440, it doesn’t have an FM radio and it costs $999+ USD.
Best Privacy & Security Pick: Google Pixel 5/6/7/8
A Google Pixel phone running GrapheneOS is arguably the best private and secure smartphone. Even though Google as a company is highly dubious regarding user privacy, the security hardware on the Pixel phones is unmatched. Additionally, Google makes it easy to install your own operating systems onto their phones which removes a layer of stress which usually comes with flashing a phone like the Samsung S10+ with its many layers of security to try to deter you. Unfortunately Pixels don’t come with a MicroSD card slot or a 3.5mm audio jack.
FOSS Pick (Free Open Source Software): Pinephone and Pinephone Pro
These neat little 6″ 1440×720 phones are a blend of open source software and privacy focused hardware. They have physical buttons which allow you to disable the cameras, microphone, WiFi, Bluetooth, and the mobile connection at will. It’s fully repairable and therefore allows easy access to the hardware modules including the battery. They have MicroSD card slots supporting up to 2TB – which will help you store all those prepper videos, maps and eBooks you’ll need.
Ultra Tough Pick: Unihertz Tank
This ultra-rugged phone will withstand even the harshest elements. It has a 22,000mah battery inside which is about 5.5x larger than the average smartphone battery. It has a 3.5mm audio jack and an FM radio which is nice to see. As for negatives, it weights a hefty 560g, the battery isn’t removable and there’s no MicroSD card.
Tactical Pick: Ulefone Power Armor 19T
A phone with built-in FLIR thermal imaging, a hefty 9,600mah battery, microSD card slot, IP68 & IP69K waterproofing, a 120hz screen and 180MP camera.
That’s it, if you have any questions please leave a comment. Otherwise check out some of my other digital prepping related blogs below:
The Best Prepper Apps to Download
Offline YouTube Prepper Archive – How To
Offline Preparedness Maps – An Introductory Guide


