Have you ever been camping with a new pot and burn yourself on the metal handles due to the lack of heat insulation rubber? Or perhaps you go to grab it and discover it’s extremely hot and you drop your meal all over the ground?
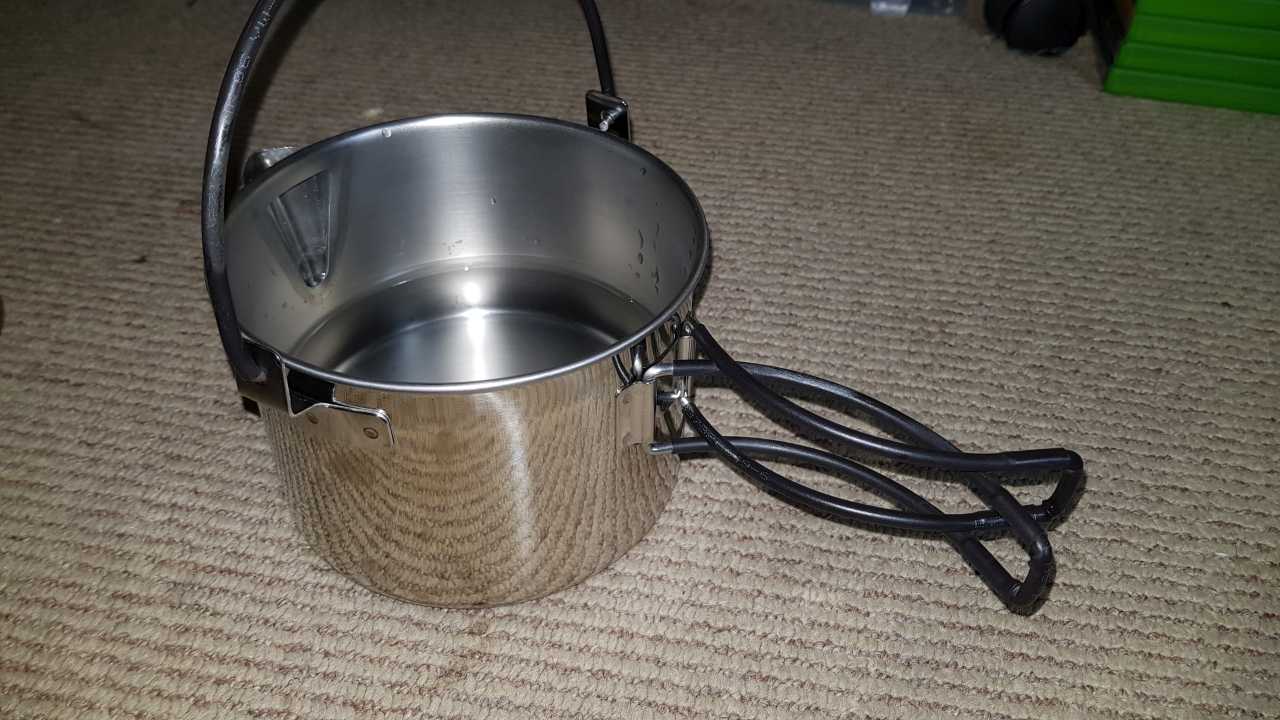
Well not any more! I recently devised an elegant solution to partially fix this issue using heat shrink electrical wrap as an insulation material on the handles. Not only does it look slick and fits extremely well once shrunk but it can come in a multitude of colours and it’s almost impossible to get wrong!
To get started all you need is:
• Metal pot handles, which should be between 0-4mm thickness and may be difficult to remove
• 1m+ (3ft) of any coloured 6mm heat-shrink wrap (Depending on the thickness of your handles)
• A heat gun or open flame (Maybe an oven?)
• Scissors to cut the tubing to size
• Pliers to hold the hot handles
You can buy different thicknesses of the shrink wrap but 6mm is the best bet because it shrinks down to 2-3mm diameter. This is also a good choice for size because you need to be able to get it around any bends that may be in the metal unless you want to do some blacksmithing.
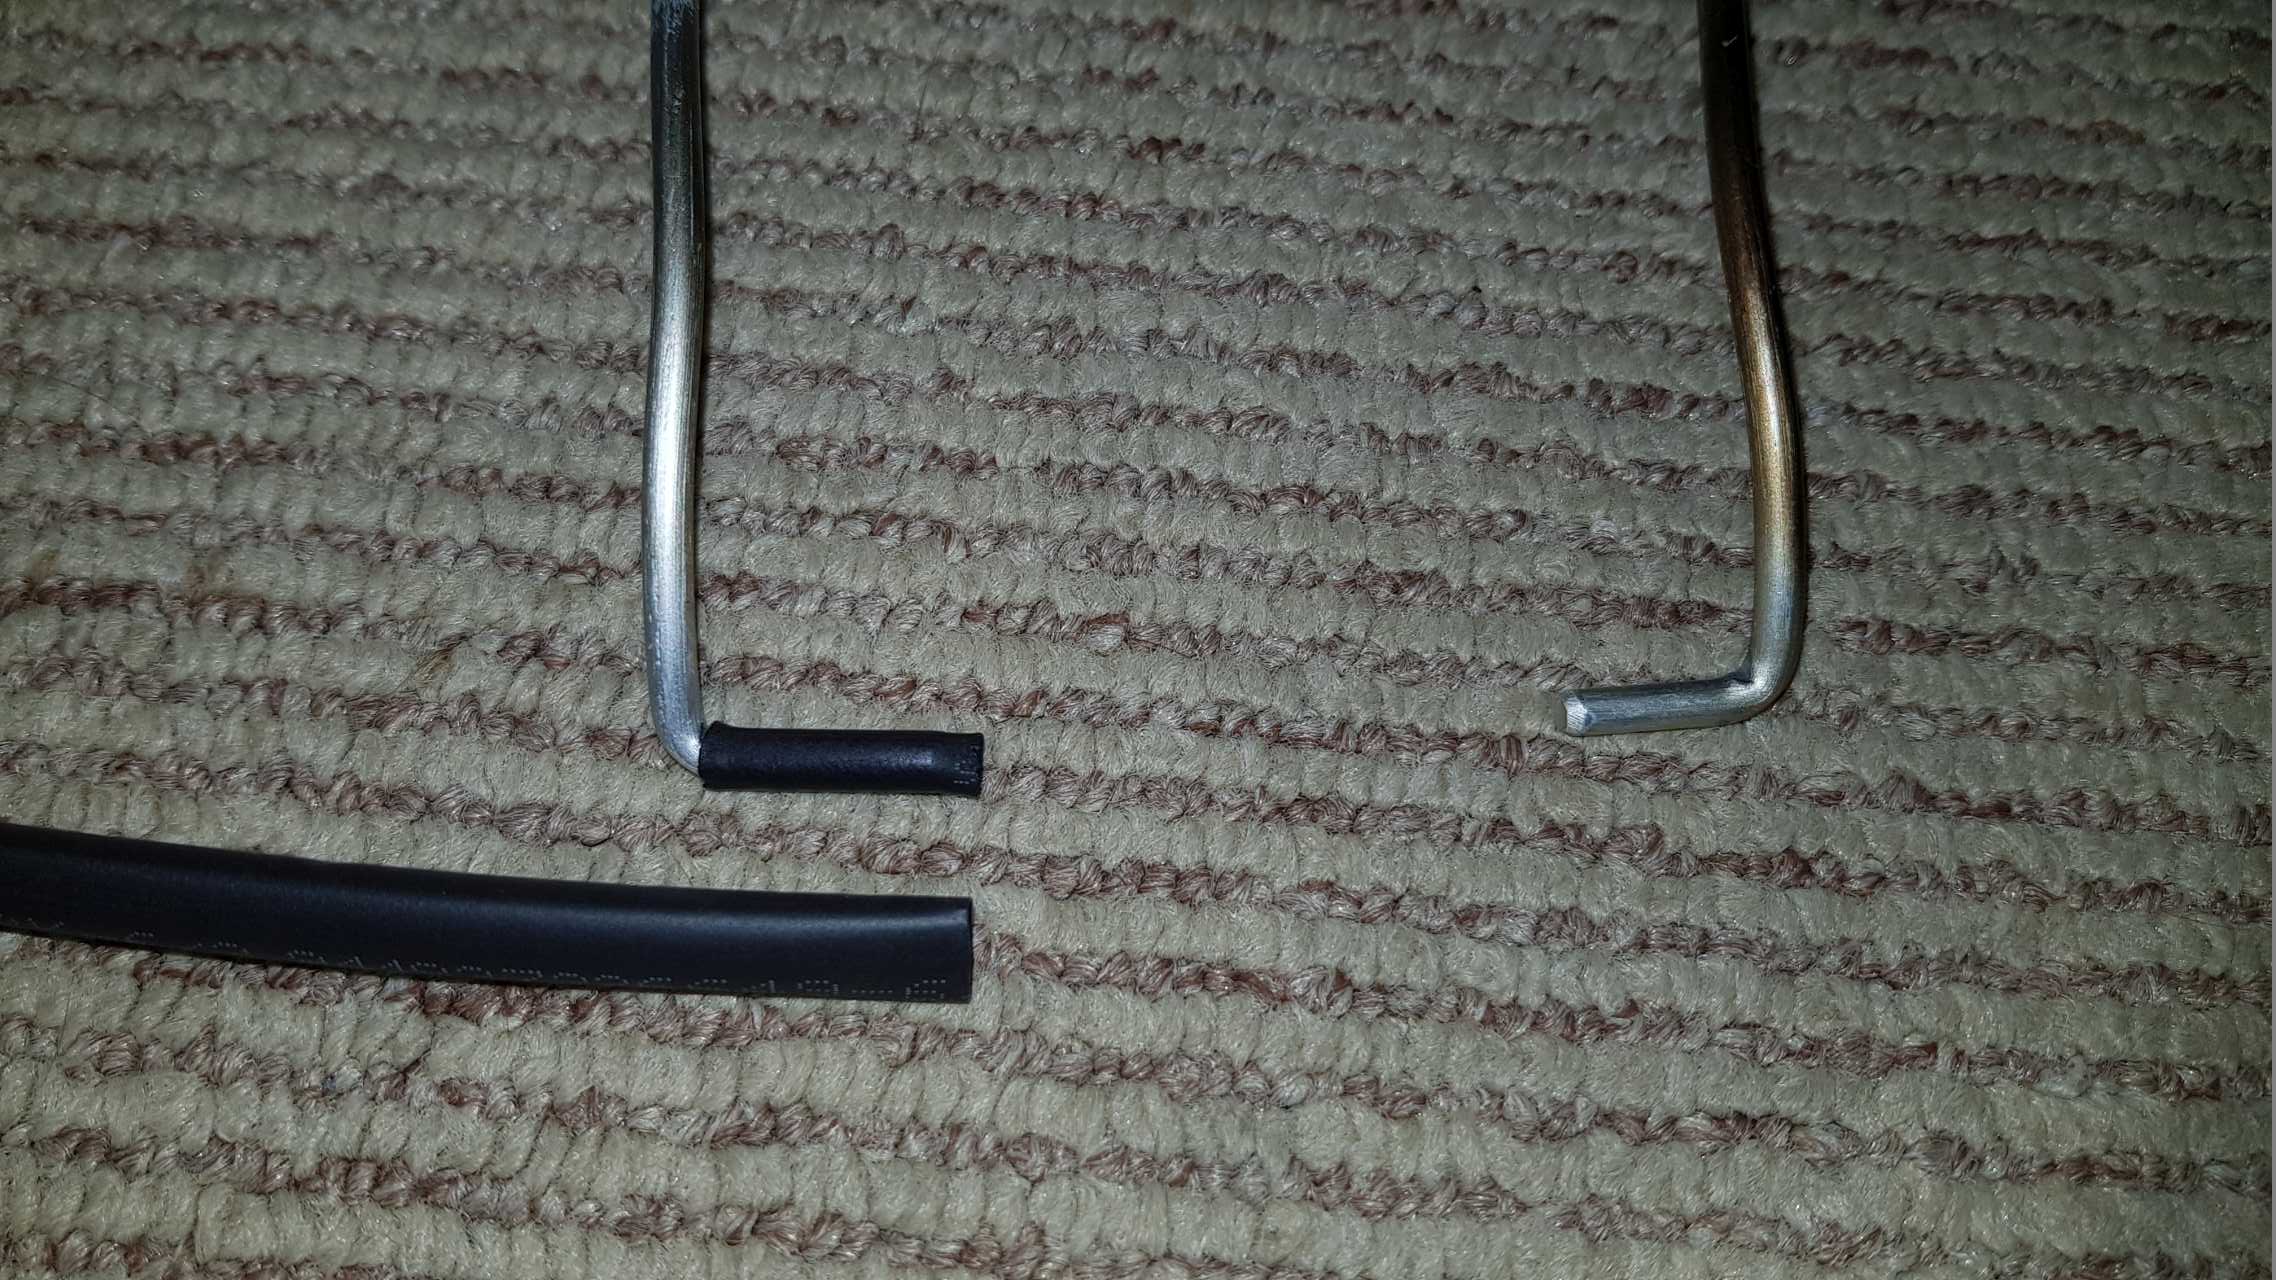
Once you’ve removed the handles, measure the tubing by eye and cut pieces to size. It may be easier to do it in a few sections if there’s multiple sharp bends. You can then simply overlap the sections to provide thicker coverage. Once you’ve got a few cut sections of tubing you now have to slide them up the handles into position. You can be rough with it as the tubing is resilient and it may be difficult to get it around some bends.
Once a section is in position you can heat it up to shrink it. You shouldn’t do overlapping sections at the same time in case the outer wrap shrinks first and distorts the inner one – but instead finish one layer at a time letting it cool between layers. Use the heat gun until it’s snugly fit around the metal and don’t forget to use pliers to hold the metal. An open flame is harder to control and provides variable heat output so be careful not to put it too close to the flame. Even if you put it in the flame, nothing happens if you pull it out quickly, however if you leave it in the tubing will start to form bubbles.
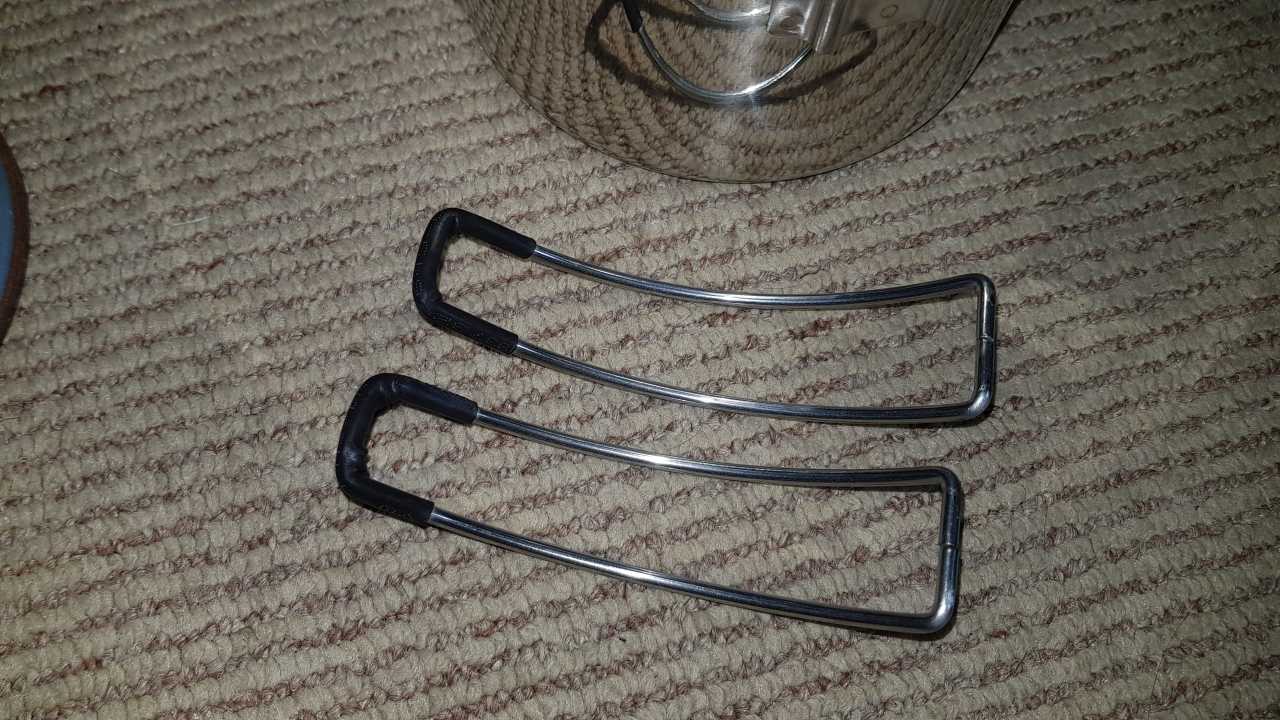
A point to note is the direction that the text on the wrap is facing. If you wish to try and hide it, ensure it’s facing down. You can see on Fig7 where I got it wrong and the text is facing up, but overall it’s not terribly noticeable.
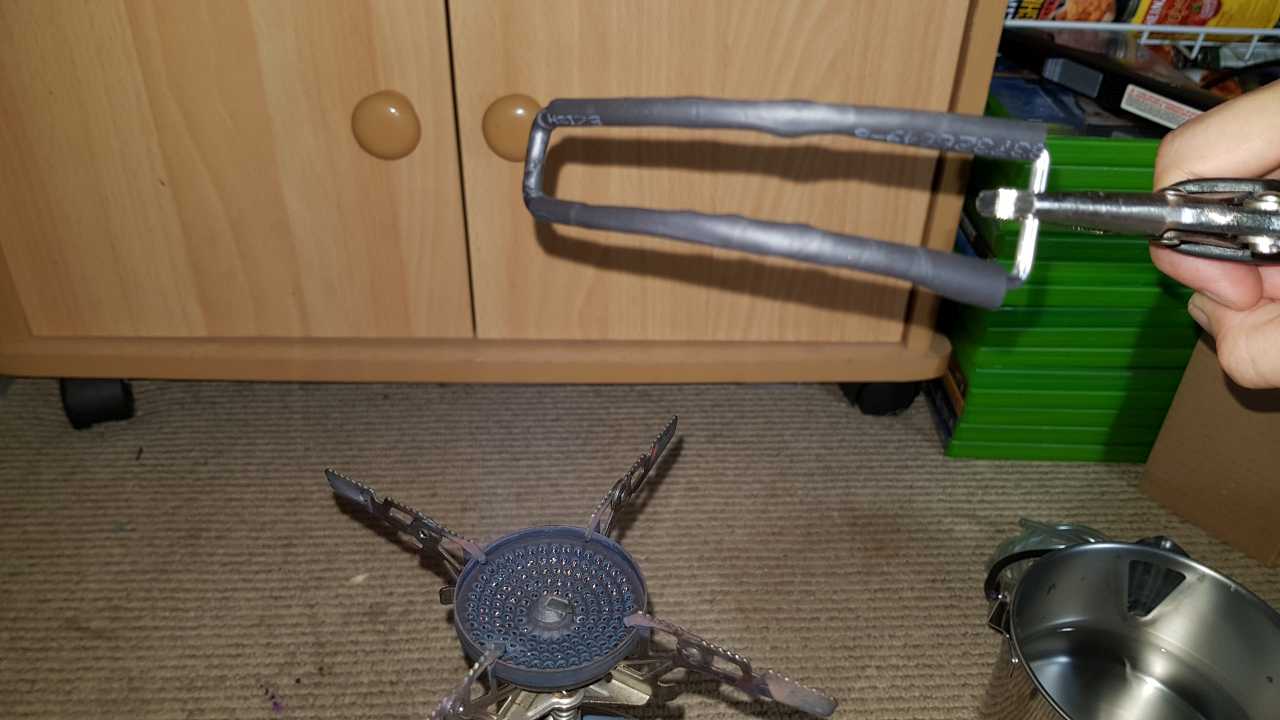
(Yes, I did mine indoors over an open flame, but as I said it’s pretty hard to get wrong if you follow some basic guidelines. I’m sure it would be even easier with an actual heat gun)
When you’ve got it looking how you want let it cool down before applying any additional layers as adding the tubing while it’s still warm may start to shrink it early. You can dip it into water if you’d like to help cool it faster, also known as quenching in blacksmithing (but that’s a little different). If you use the water method, ensure it’s dry before adding more layers. It’s cool enough when you can hold the handle without burning yourself, at which point you can begin to wiggle the next layer of tubing into position.
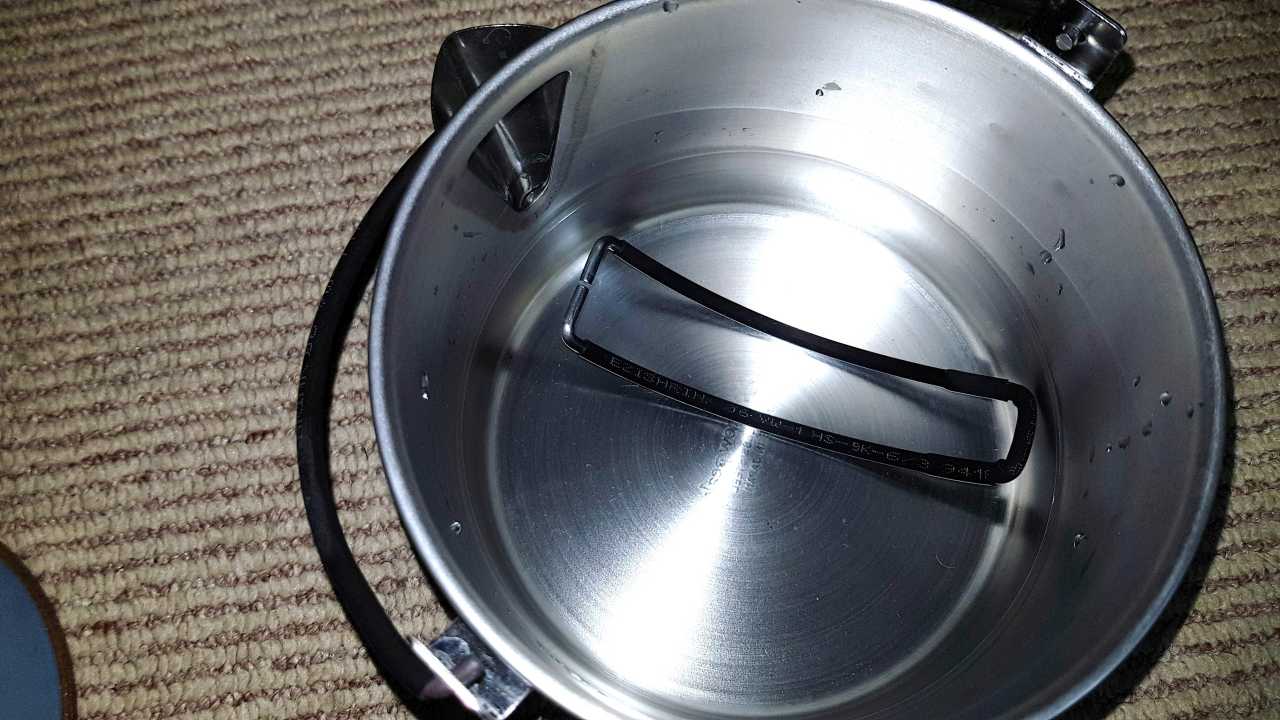
Then simply repeat the heating step again until you’ve got a handle with a lovely looking layer of wrap over it.
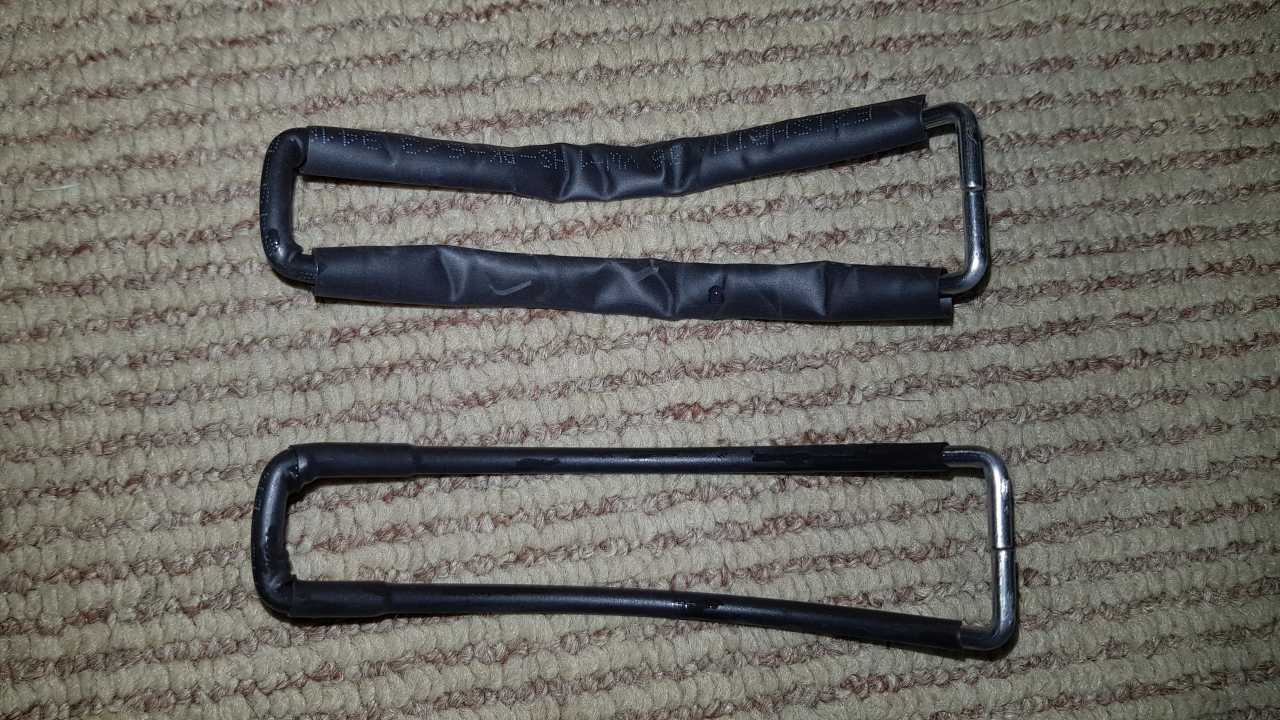
You can apply the same method for any and all of your camping pots with metal handles although some are extremely difficult to remove the handles on such as my stanley pot below (fig.7) which also had a sliding mechanism I had to remove.

Results
Now for the results which is quite a fair improvement over just bare metal. You can definitely hold the handle for longer and feel about a 40% reduction in heat leaving about 60% heat. So with an additional layer you will feel about 36% of the heat down from 100%. You could probably add up to 5 layers if you wish, but each layer will become harder to slip on, but after so many layers I’m sure you won’t be able to feel much (if any) heat. Additional layers will also ass a bit more weight if ultralight backpacking is your thing and where every gram counts.
Below is an estimate of heat felt compared to number of layers:
• 0 Layers: 100% Heat
• 1 Layer: 60% Heat
• 2 Layers: 36% Heat
• 3 Layers: 21.6% Heat
• 4 Layers: 13% Heat
• 5 Layers: 7.8% Heat
If you wish to remove the tubing all you have to do is get some scissors and slice it up the side and peel it off. It won’t leave any sticky residue (Unless you melt the stuff over an open flame) and you won’t be able to tell it was even applied.
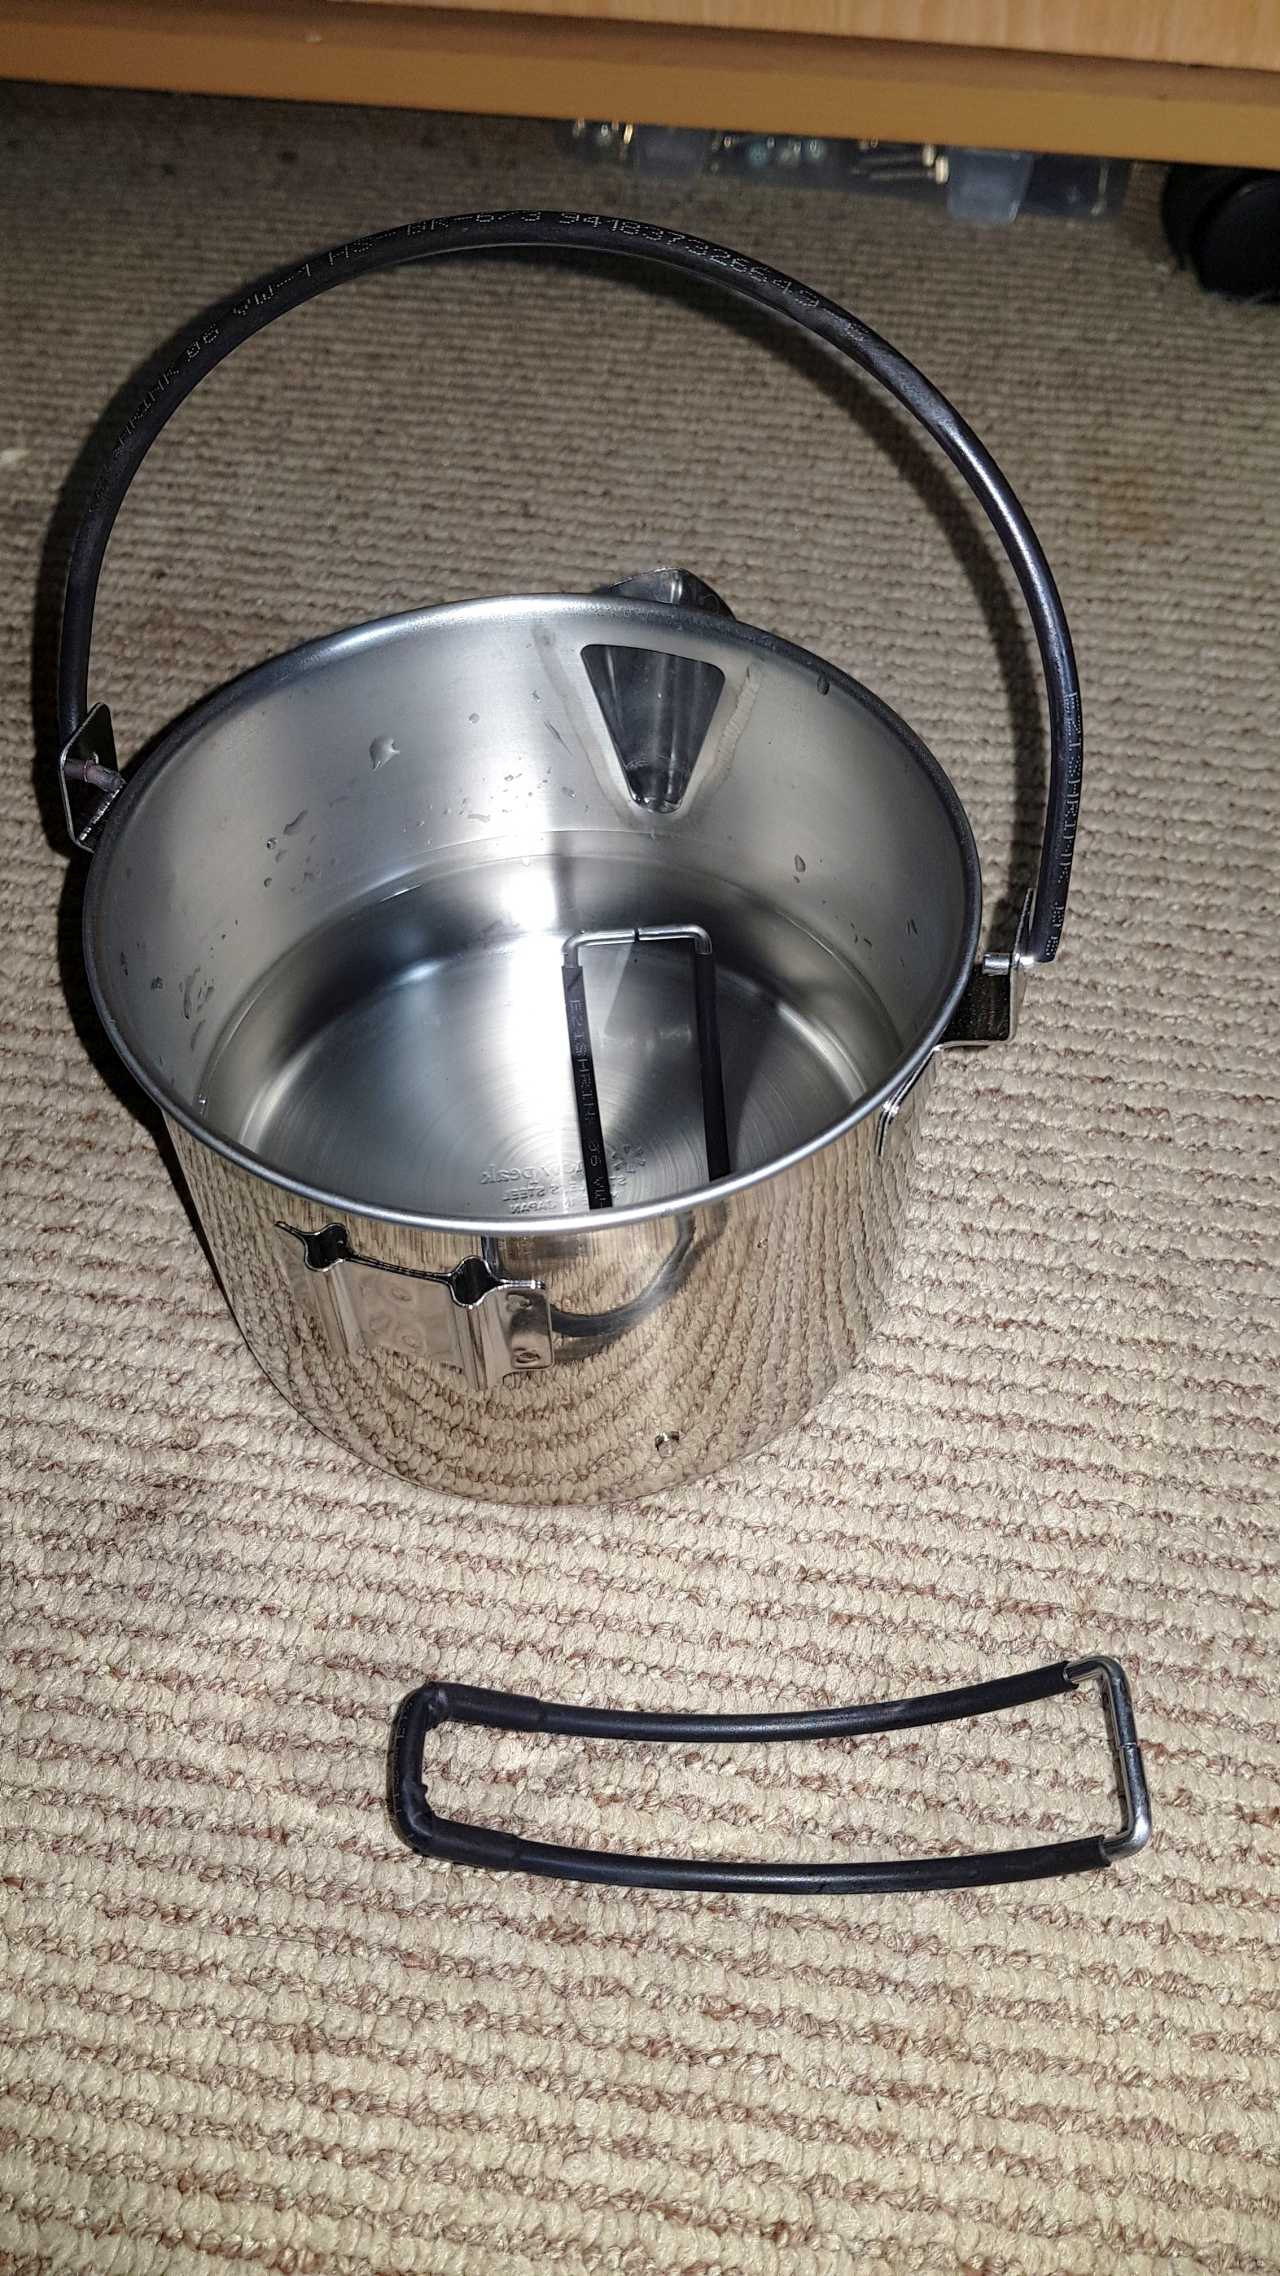
I only tried this on stainless steel and aluminium but it should work exactly the same for all other metals including titanium, copper, brass etc. Let me know what you think and if you tried this on your pots.


